Home Assistant

Back in February I read about Home Assistant on a TCF thread. At the time, before I knew a lot about it, I thought maybe it could be used to make the setup of my TiVo Control skill for Alexa a little easier. That turned out not to be necessarily true, but I did learn about proxying HTTPS requests through Lambda which was helpful for people who couldn’t host their own HTTPS server at home.

HA is written in Python and has a ton of components to contributed by the user community. The big automation players are here (Amazon Echo, Nest, IFTTT, Hue, etc.) plus a lot of smaller or lesser-known modules (like IKEA’s new TRÅDFRI light bulbs). You can mix and match these components by adding a new section to your configuration.yaml file with the required settings. With device location tracking you can set up automations with a basic trigger/condition/action setup.

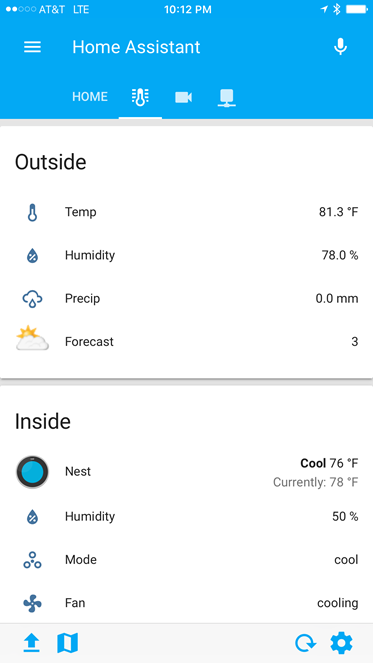
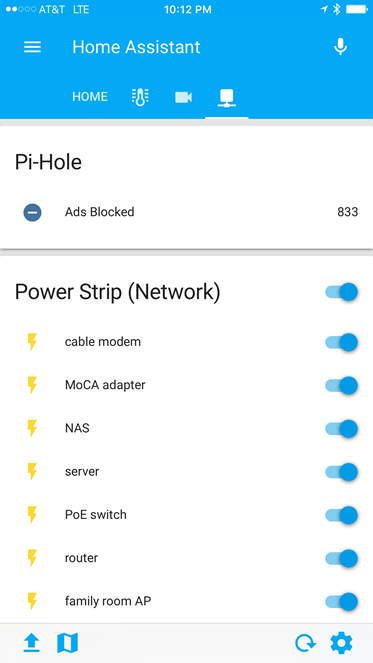
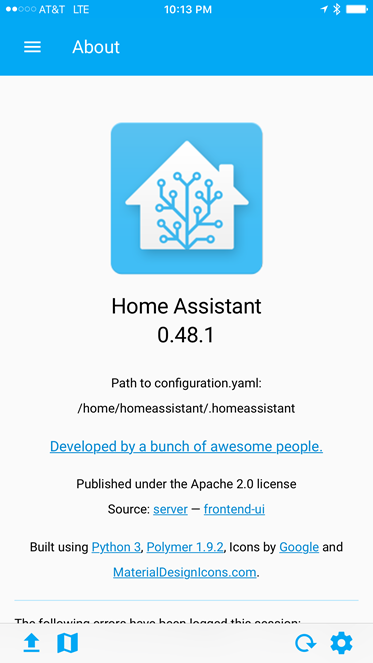
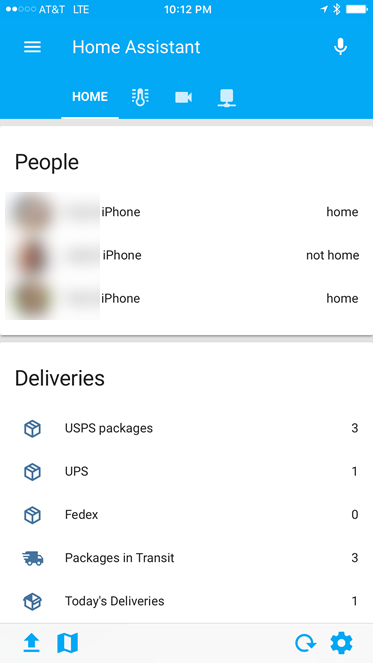
Since most of my home automation is done via Z-Wave devices tied to my ADT Pulse system (which finally has some basic Amazon Echo support of its own), I haven’t played around with HA’s powerful features automation, control, and push notification features. For now, I’m using the iOS app to connect to my HA install. From there I can see the status of my Nest thermostat, view my Dropcam and TRENDnet cameras, and even control my web power switches from a single application dashboard.


Moving from Google Photos to Amazon Prime Photos

I’ve been using Google Photos since it was announced back in 2015 as a belt-and-suspenders second cloud backup of my photo library (my primary backups are still in SpiderOak). I was using the “High Quality” setting since most of my photos are less than 16MP and didn’t want to pay for the extra storage required for “Original Quality.” For no real reason (other than wanting to get more out of my $99/year Amazon Prime subscription), I decided to switch to Amazon Prime Photos on my Amazon Drive.

Read more

FitBit Charge 2

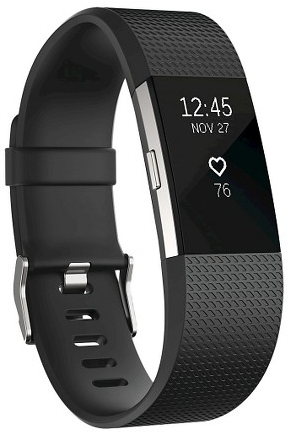
FitBit Charge 2My two-year old FitBit One started having a problem last month where I would find it just off. Holding down the button would cause it to “boot” (showing “FITBIT 6.60”) on the screen but while it was off it wasn’t tracking any activity. It wasn’t a battery issue as far as I could tell as the app was reporting an accurate status. I tried working with FitBit support but since the unit was out of warranty, all they could offer was a 25% discount code towards the purchase of a new FitBit device.

After waffling between just getting another One, or upgrading all the way up to a fitness watch like the Blaze, I decided to try the Charge 2.

Read more

Web Power Switch 7

Web Power 7

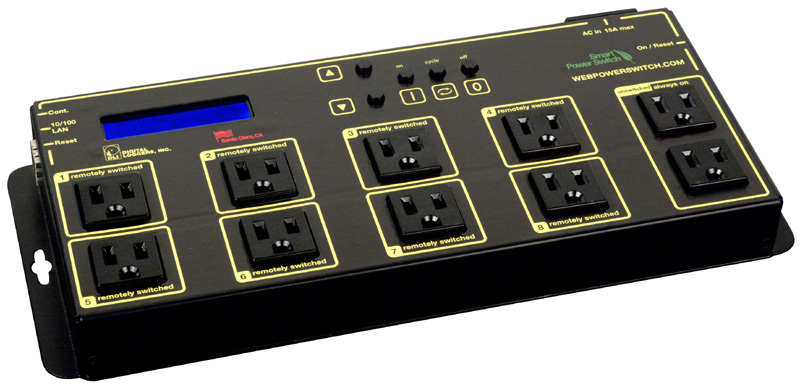
Over Christmas vacation I had a network outage that left me without remote access to my home network for a week. While I was at my in-laws, unable to connect to my server or cameras, I started researching options for out-of-band management of my home network. I started with cellular devices like this, but they all seemed to be GSM (2G) and most carriers are shutting down those older networks. I decided instead to go with a “smart” power strip, the Web Power Switch 7, which can power cycle devices plugged into it based on network connectivity criteria.

Read more

Trackr Bravo

Trackr Bravo

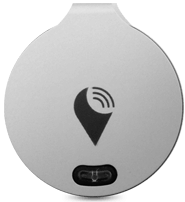
There’s no shortage of Bluetooth trackers out on the market. These are small devices you can attach to your car keys, wallet, pets, etc. and then pair to an app on your smartphone so you can presumably find them when they’re lost or misplaced. I recently picked up three TrackR Bravos (one for my keys, one for my wife’s keys, and one for my daughter’s wallet) to see how they would work.

The Bravo is one of the smallest of the trackers out there, barely larger than then user-replaceable CR1620 battery that powers it. It’s metal, and comes with a ring for your keyring, and a small adhesive sticker if you’re going to mount it on something instead. A small blue LED also doubles as a button for pairing or finding your phone (more on that later). Set up is fairly straightforward: install the Trackr app on your phone, create an account, and step through the wizard for pairing the Trackr Bravo with your phone over Bluetooth.

Read more

iPhone 7 Plus

iPhone 7 Plus

Right after Thanksgiving my iPhone 6 Plus started exhibiting the symptoms of touchscreen disease: the screen would just stop responding to taps (unless I turned it off and back on again), would scroll erratically (or not at all), and had a slight yellow tinge around the edges. I toyed with the idea of getting a “new” device from someplace like Gazelle or eBay, but decided to just re-up with AT&T. After figuring out their byzantine terms and condition for the AT&T Next program, I placed my order for a new matte black 128gb iPhone 7 Plus and had it a few days later.

Read more

ActionTec ECB6200 MoCA adapters

ActionTec ECB6200

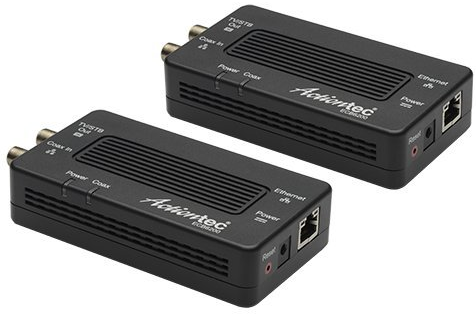
I was doing a bit of a network re-org and realized that the old MoCA adapter that connects my home office to the network was only a 100mbps ethernet connection. Since everything else on my network is now gigabit (except for the occasional exception like my PiDP-8), I decided to upgrade to ActionTec’s ECB6200 MoCA adapters.

These units support the MoCA 2.0 specification which allows for theoretical throughput of 800mpbs via two 400mpbs bonded channels (while still being backward compatible with MoCA 1.1 devices) and gigabit ethernet. I figured swapping out the two ECB2200s (one in my office, the other in the computer closet before the cable modem) with the ECB6200s would be plug-and-play easy.

Read more

Ubiquiti EdgeRouter-X

“Infrastructures are essential to everyday life, but they are always the supporting player, never the goal. It is only when there is trouble that the infrastructure is noticed …” -Donald Norman, The Invisible Computer
Ubiquiti ER-X

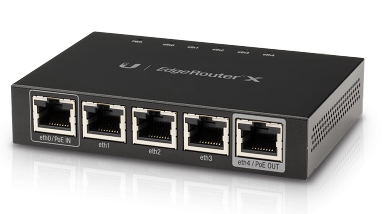
There was nothing wrong with my almost 5-year old Buffalo router, but after hearing Steve Gibson talk about the $50 Ubiquiti EdgeRouter-X on episode #569 of the Security Now! podcast, I knew it was time to replace the Buffalo.

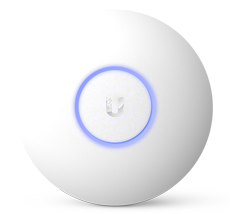
Unlike most consumer/home routers, the ER-X has no built-in wireless. It’s a router, not an access point. This wasn’t a problem for me since I hadn’t been using the Buffalo for wireless since I had put in the Ubiquity UniFi AP two years ago (and now my AP and new router are from the same manufacturer). Also unlike your average consumer router, the ER-X has five logical interfaces behind its five physical ports (eth0 – eth4). This means you can configure the individual ports however you want. Each port can be its own separate subnet, you can group ports into a switch, bridge ports, etc. (I’m using the traditional 1 WAN port (eth0) plus 4 switched ports (eth1 – eth4) setup). The ER-X can be powered with the included AC brick, or via (non-standard, not 802.3af) 24V passive PoE input on eth0 (which can then do PoE passthru to eth4 to power, say, a UniFi AP). For now I’m using the AC adapter and not PoE.

For the past 9 years I’ve run DD-WRT on my home routers but now, with the ER-X, I’m learning Ubiquiti’s EdgeOS. It’s got a pretty slick interface, although not all of the router’s features are available to configure through the GUI (like setting up a PPTP VPN connection), so some command line interface (CLI) interaction is required. SSH’ing into the router and using the shell to set the more advanced options should be familiar to anyone with Linux experience (once you learn a few Ubiquiti-specific configuration commands).

The driving factor behind switching routers was attempting to re-organize my home network with three separate, isolated segments:

I’m still finalizing the configuration, but so far I’ve set up the three wireless SSIDs on the UniFi AP and tagged two of them (guest and IoT) with VLANs. On the ER-X, I created the two VLANs (on the switch), tagged them on eth4 (the port connected to the AP), set up DHCP servers for the three segments on 192.168.1.0, 192.168.5.0, and 192.168.10.0 and confirmed that the wireless devices on a VLAN get an IP address on the corresponding subnet.

I’ve been having some problems with the firewall setup, so I still have some items to get working:

  • allow pings from VLAN1 to VLAN10 (for Nagios monitoring)
    • update: I wasn’t able to get this working so I put the (previously unused) wireless adapter in my server on the VLAN10 network so it had access to ping devices on that network
  • guest devices on VLAN5 can’t find the UniFi controller on VLAN1 so they don’t load the captive guest portal
    • update: I gave up trying to get this to work. I tried all sorts of firewall rules and other suggestions from people on the EdgeMAX forums but just could not get unauthorized guest devices on VLAN5 to see the UniFi controller
  • learn how to write firewall rules for true subnet separation (except for the Nagios requirement above)
    • update: I got these working using this information as a baseline (along with help from EdgeMAX forum members). Basically I wrote two pairs of rules (one IN and one LOCAL for the guest and IoT VLANs) that prevent them from talking to the primary LAN and each other.
  • separate a wired device on eth2 to be part of VLAN10
    • update: after re-doing some setup from scratch, I got this working on eth1 by setting the PVID to 10 for that port in switch0
  • NAT hairpin/loopback for the VLANs
    • update: despite having switch0.5 added as a LAN interface on the Port Forwarding tab, enabling the “Hairpin NAT” checkbox, and suggestions from the EdgeMAX forums members (like DNAT rules) I cannot get devices on the guest VLAN5 to access local services (like access to this blog).

The ER-X is a pretty advanced device for $50 and I’m looking forward to learning more about advanced networking topics as I tweak it. Just so long as my family can deal with the home network going down a lot as I make mistakes. 🙂
Amazon Music

Now that I have an Amazon Echo in the house, I wanted to be able to play my music collection by just asking Alexa to do it. Since the Echo relies on the cloud, it can only play local music when it’s paired to a device as a speaker. So I could pair my iPhone or PC to it and play music from iTunes, but that’s so … manual! In order to say “Alexa, play some Oingo Boingo” and have her look at my own tracks instead of what’s available for free on Prime Music, those music files needed to be in Amazon’s cloud so I decided to try Amazon Music.

Prime subscribers can upload up to 250 tracks to their Amazon Music library for free, but I have about 20x that many songs so I paid the $24.99 for a year of the service, which increases the limit to 250,000 songs (a lot more than I have). This is in line with what Apple charges for iTunes Match but Google Music (which I’ve been using as just another cloud backup for my music library) is free up to 50,000 tracks. The Echo doesn’t work with Google Music though, obviously, as Amazon wants to keep you in their ecosystem, so I paid for the subscription, downloaded the app, and started uploading my library.

Read more