 Hey, just so you know ... this post is now about 4 years old. Please keep that in mind as it very well may contain broken links and/or outdated information.
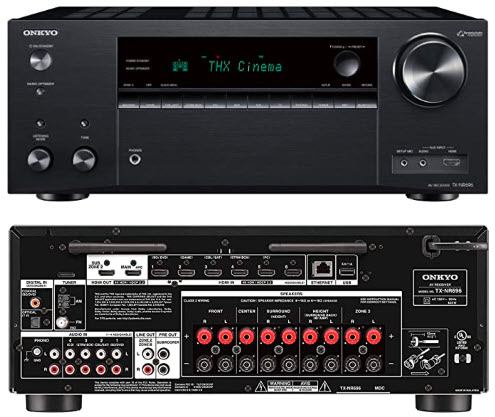 It’s hard to believe I’ve had my Pioneer Elite VSX-24TX for over 21 years. That’s probably a personal record for me using a single piece of electronic equipment. It’s served me well over the years, but alas recently it’s been having problem (the outputs weren’t working reliably, it would take a few power cycles to get them to click in) so I figured it was time for a replacement (it’s so old it doesn’t even have any HDMI jacks, just component and S-Video!).
Since I skipped the Blu-Ray era (never bought a player) and last year cut the cord and left my TiVos for streaming, I really don’t have any video equipment connected to my primary TV. The old DVDs I still own I could play on a PC if I needed to (but honestly all of that stuff is available via streaming now anyway) and the old Wii is connected to a TV in the guest/exercise room (but that’s hardly used as well). The receiver is mainly for audio: surround in the family room for movie watching or playing some vinyl, and a second zone outside by the pool for playing music while swimming (or having a party, once that becomes a “normal” thing again).
My primary requirement was multi-zone, plus modern extras like voice assistant support, Bluetooth, networking, etc. After performing my normal online research and comparisons, I selected the Onkyo TX-NR696.
The TX-NR696 was CNET’s Best Receiver of 2020 and still topped the list in 2021 (you can read the review here). It checked all my boxes: separate zone 2 outputs, WiFi/Bluetooth, and Alexa support, plus 4K/60p/HDR HDMI and some impressive audio extras (in case I decide to re-do my speaker setup at some point in the future) like Dolby Atmos, and DTS:X.
I performed the equipment swap over a period of two days. Other than disconnecting old equipment over the years, I had not touched the wiring on my Pioneer receiver in a long time. All of labels on my speaker wire were unreadable, so I carefully disconnected one pair at a time and re-labeled them (speaker location and red/black terminal connections). Once I had the Pioneer removed the cabinet, I gave everything a good cleaning/wipe down. Then it was just a matter of reconnecting all the speaker wires to the appropriate terminals on the new receiver, along with the AM/FM radio antennas, audio cables for the turntable, and HDMI out to the TV (rather than using ARC, I decided to move the Amazon Fire TV Stick from the HDMI jack on my TV to an HDMI input on the receiver).
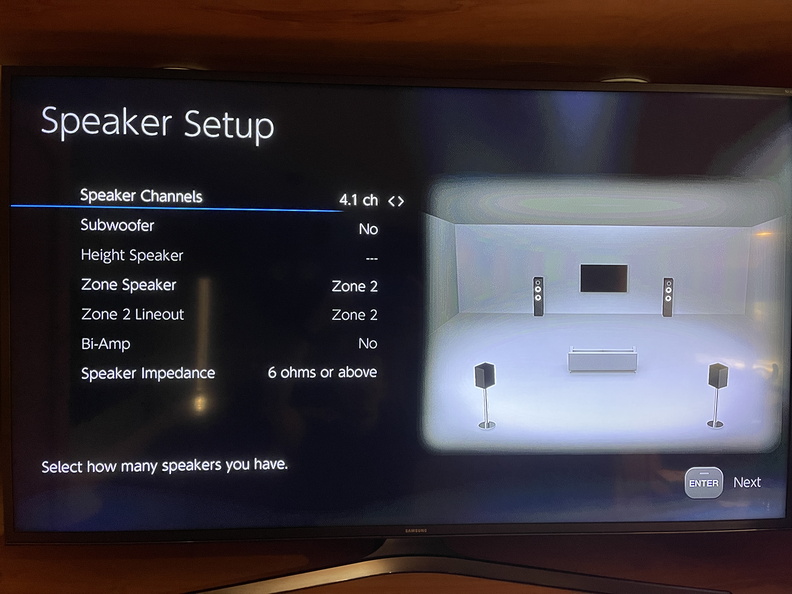
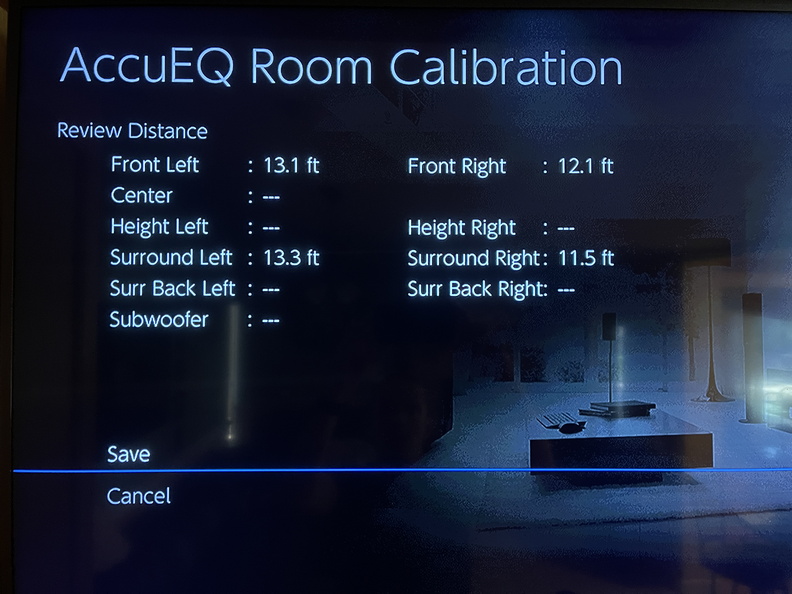
Powered on, the Onkyo walks you through an on-screen initial setup that includes selecting and testing your speaker configuration, calibrating for the room, testing Zone 2, and connecting to the network. The test confirmed I had labeled and connected all my speaker wires correctly, whew! For the calibration, you connect the included microphone to a special jack on the front of the receiver and place it close to your sitting/listening position. The receiver then plays tones from each speaker and calculates the distance and levels, so much easier than the old days when I did this manually with a sound pressure level meter! Oddly, the internet connection test kept failing (I had connected the receiver to my IoT VLAN) but after a little troubleshooting I determined the connection was fine, despite what the test said. With the receiver connected and set up, it was time to start testing and tinkering.
-
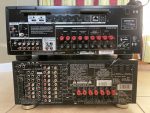
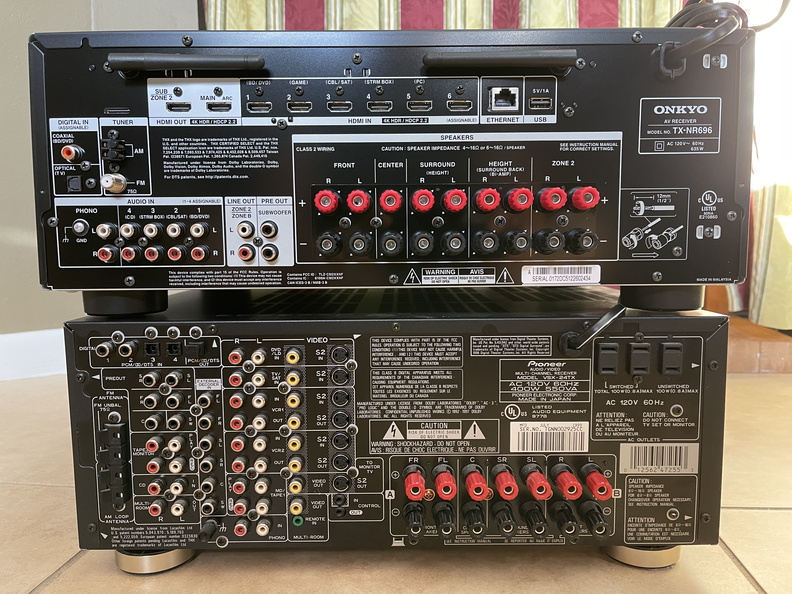
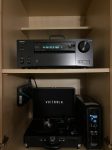
- top: Onkyo, bottom: Pioneer
-

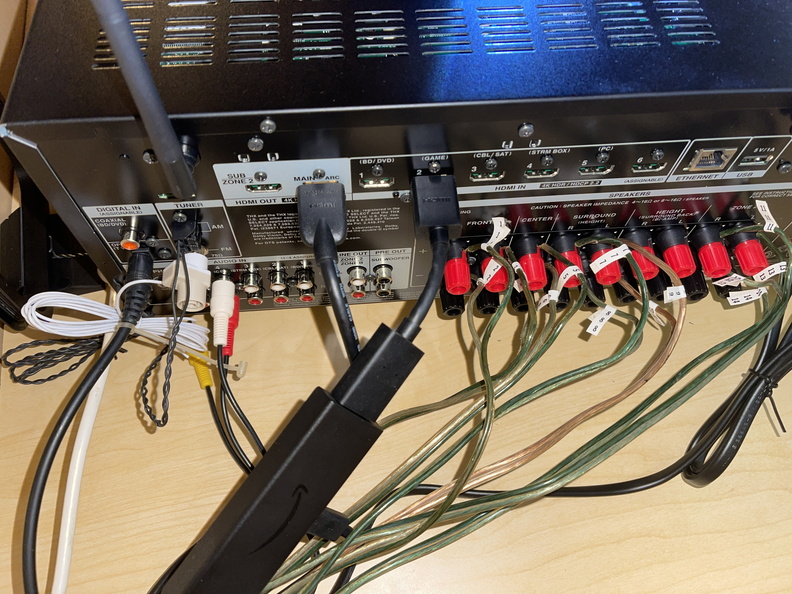
- wired up
-

- initial speaker setup
-

- auto-calibration
-
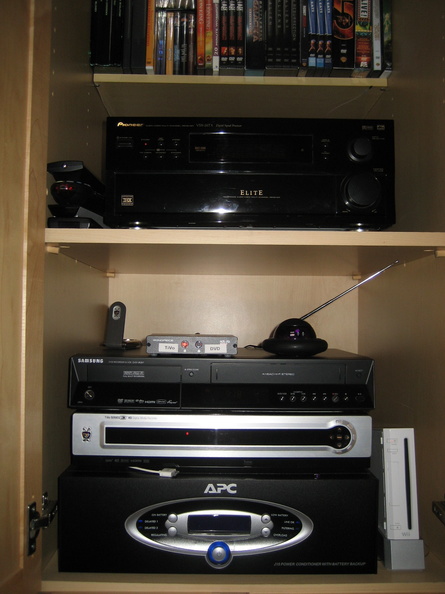
- media cabinet, 2009
-
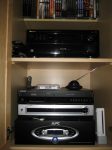
- media cabinet, now

First up, making sure basic TV watching still worked for the family. I have the Fire TV Stick configured for HDMI-CEC so we can say “Alexa, watch NBC on Fire TV” and the Fire TV Stick will turn on the TV, launch YouTubeTV, and tune to the requested channel. We also use the Amazon remote to manually turn the TV on and off, control volume, etc. The first problem I had was that with HDMI-CEC also enabled on the receiver, the TX-NR696 would also turn on. Most people probably want this, but my family doesn’t use (or want to use) the receiver and extra speakers in the family room for everyday TV watching so I disabled HDMI-CEC on the receiver. Another thing I hadn’t thought of was that by having the Fire TV Stick connected to the receiver, the receiver would need to be powered on in order for the signal to make it to the TV. But no, you can set up what the manual calls “HDMI Standby Through” which is basically a pass-thru: you can specify a source that will continue to pass signal through to the TV even when the receiver is off (although technically this requires it to be in a hybrid standby mode, with some power usage). Since I only have the one video source (the Fire TV Stick), I set the pass-thru to that HDMI port and can still watch YouTube TV without turning on the receiver, just like before. Good WAF! I also tested with the receiver of course, using the Plex, HBO Max, and Amazon Prime Video apps to confirm I could get Dolby Digital sound pumping through my speakers, very nice! That covered the video testing, so all that was left was the remaining audio sources. AM/FM radio was pretty simple, I just confirmed I was getting a signal through the antennas and added a few presets for some local stations. The record player worked just fine too, no surprise there (the trick is not connecting to the PHONO input, which I learned on the Pioneer). The majority of my music playback nowadays though, like my TV watching, is from streaming sources (on the internet, or my local Plex server).
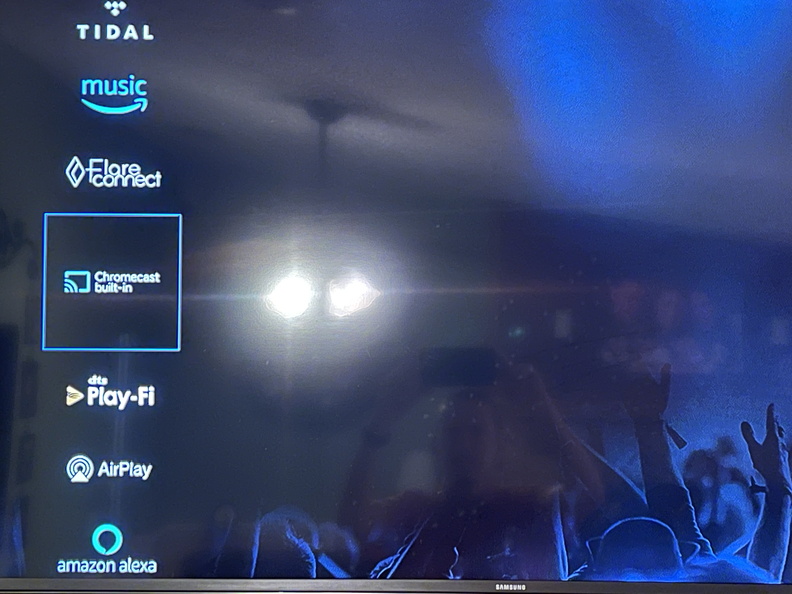
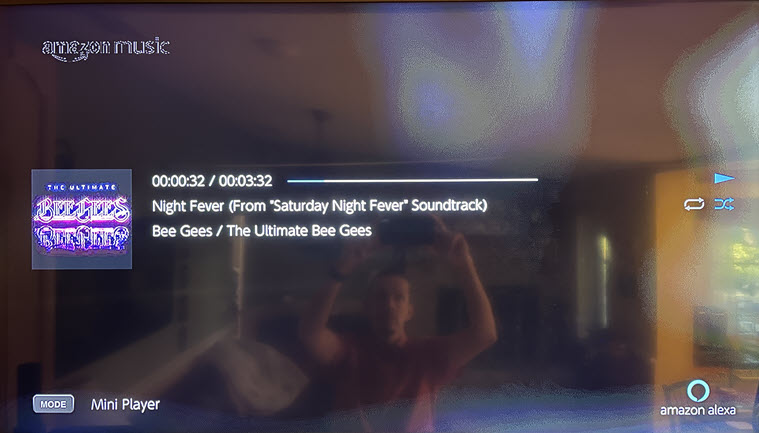
The TX-NR696 is billed as a “Smart AVR” which just means it has apps. Unfortunately, they’re pretty basic and not great. Amazon Music, which is my primary online music streaming service, is built-in, but the app can’t load my largest playlist, and there’s no shuffle option. It didn’t take long for me to realize I will probably never use these built-in apps (Amazon Music, Pandora, Spotify, Tidal, Deezer, TuneIn, Chromecast, DTS Play-Fi and FlareConnect). The DNLA support (which I tried with Plex) isn’t any better. The way to go is using the apps on the Fire TV Stick, or AirPlay directly from my iPhone, both of which worked great (Bluetooth is an option too, but I found AirPlay works better since it uses WiFi and thus has better range if I’m wandering around the house). The one built-in app I do use, is Amazon Alexa, and it works really well: I can say “Alexa, shuffle my party playlist on the receiver” and the receiver will turn on and start playing my music from Amazon Music. Or “Alexa, play the Oingo Boingo station from Pandora on the receiver” or even “Alexa, listen to 970 WFLA on the receiver” (and she’ll figure it out to use iHeartRadio). Very cool and I don’t even need to turn on the TV! One drawback here is that you can only use voice control for the initial action: it’s a handoff to the Alexa app on the receiver, so once music is playing you can’t say something like “Alexa, skip this track.” Instead, you need to use the playback control buttons on the remote, or use the mobile app (more on that below).
-
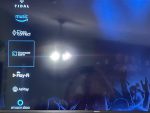
- built-in “smart” apps
-

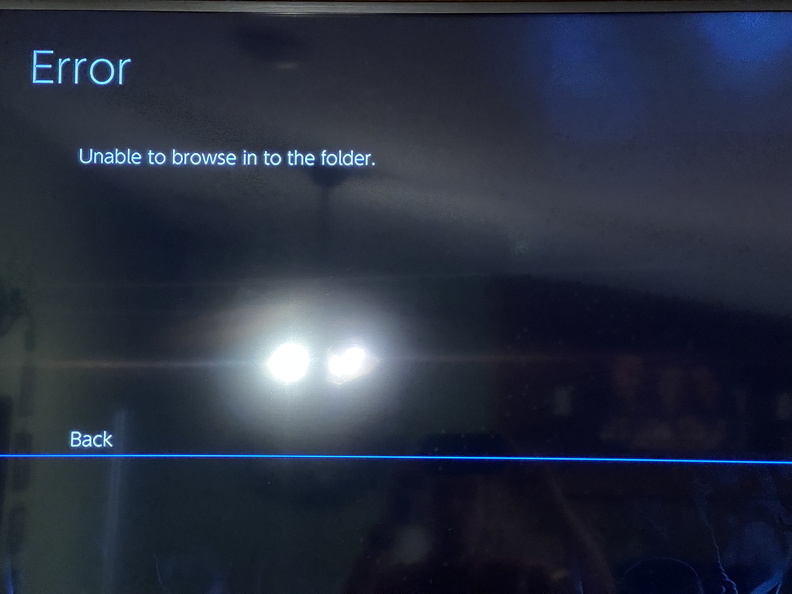
- oops, can’t load my large playlist!
-
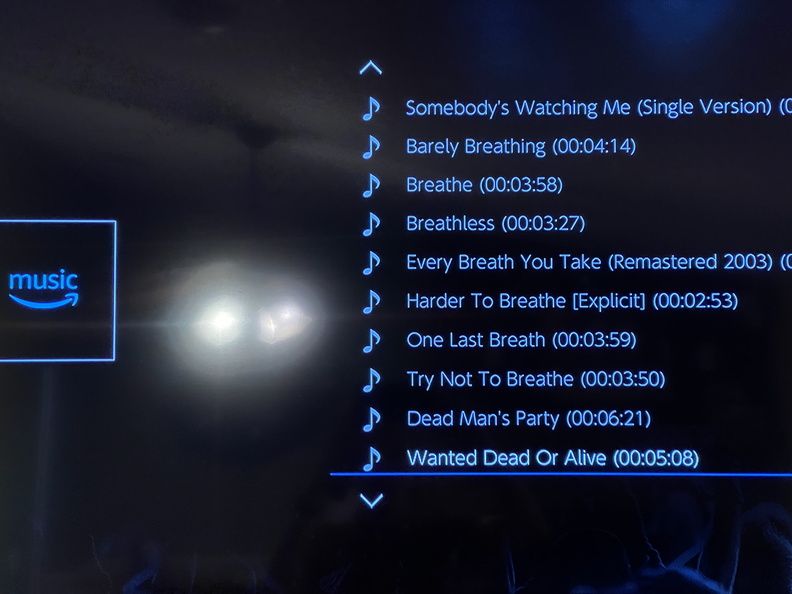
- Amazon Music built-in app: playlist
-
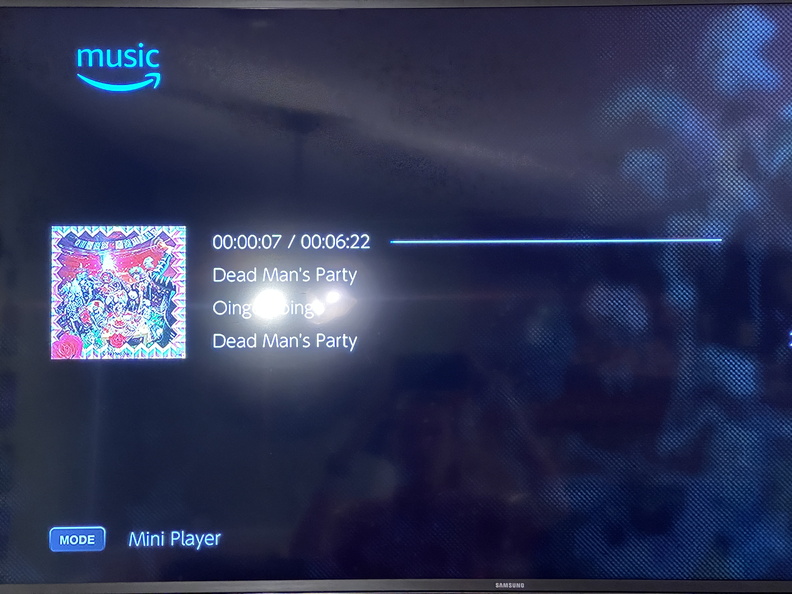
- Amazon Music built-in app: basic player, only repeat options, no shuffle!
-

- Amazon Music via Alexa: look, a shuffle icon!
You also can’t use voice control for Zone 2 either, but once music is playing in the primary zone you can set Zone 2 to “Source” and whatever is playing in the main zone will come out of the Zone 2 speakers as well. You can even set separate volume levels for the primary zone and Zone 2, which is something I couldn’t do with the Pioneer. In fact, most settings for Zone 2 are independent of the main zone. I can play different sources (TV inside, Amazon Music or FM radio outside), even have Zone 2 powered on with the main receiver power off (again, in a hybrid standby state like what’s used for HDMI pass-thru). I did have to enable HDMI for Zone 2 to allow the audio from HDMI-connected devices to pass-thru to Zone 2 (a quick e-mail to customer support pointed me to that when I couldn’t figure out why I wasn’t getting sound in Zone 2 when using the Fire TV Stick as the source).
The Onkyo Controller app is nothing mind-blowing, but it works pretty well. I love that I can use my phone to power up Zone 2 and start playing music outside without needing to open the media cabinet and physically touch the receiver. You can customize the UI a bit to only show the inputs you care about specific to each zone, set a custom image, friendly name, etc. You can use and control the “smart” apps through the mobile app as well, but they’re still limited (i.e., no shuffle!).
Through the web browser interface (just point your browser to the IP address of the receiver) you can make all of the same configuration changes as with the remote and the on-screen menus. You can also download a backup of your configuration and print a nice report. I always took photos of the setup screens for the old Pioneer, so this is a nice touch in case I have to do a factory reset or anything and need to re-apply my setup. Tip: the username/password for the web interface is ciuser/ciuser. This is not mentioned anywhere in the manual (I had to find it on the internet) and you can’t change it.
-
- Zone setup in mobile app

-
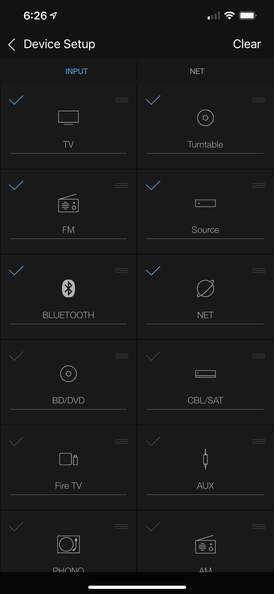
- input setup in mobile app
-

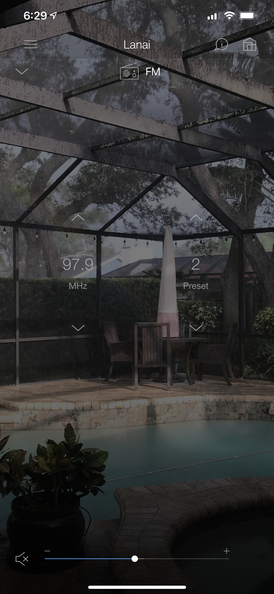
- FM radio playing in Zone 2
-
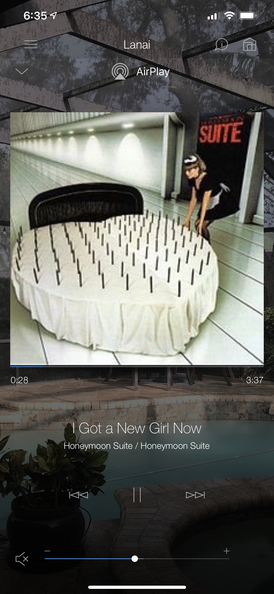
- AirPlay in Zone 2
-
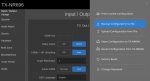
- web browser interface

Other quick notes:
- You can dynamically re-assign the physical HDMI jacks to the labeled inputs: I connected the Fire TV Stick to HDMI2 (GAME) on the back of the receiver, but in the setup screens was able to re-assign HDMI2 to “TV” and then change the on-display label to “Fire TV.” Renaming inputs has no affect on their appearance in the mobile app though, unfortunately.
- I still have some tweaking to do: while watching a movie off of HBO Max with Dolby Digital, the dialog still seemed softer than the other audio, making it hard to hear.
- I can’t think of a use for it currently, but if I wanted to integrate the TX-NR696 into my Homeseer home automation system, there’s a (not free) plugin available.
I’ve only had the new setup for a week, so I’m sure I’ll come across some other items to add as I continue to tweak and dial everything in, but right now I’m pretty happy with my new receiver!