Part 4 of my New Years’ 2024 upgrade posts series …
Upgrading my Ender 3 Pro with the newer 32-bit mainboard means I can now more easily upgrade the firmware. I considered trying out Klipper, but since Marlin is what I’m used to (the original 8-bit board was running Creality’s version based on Marlin v1.1.9), I decided to get my feet wet using that first. The firmware on the new board was based on v2.0.8.2 (from August 2022) but the latest release was v2.1.2.1 so I figured that would be a good first upgrade to attempt.
Before starting I did my requisite Google searching and read a bunch of articles (like this one) and watched a few YouTube videos (like this one and this one). Luckily with the newer mainboard I didn’t have to worry about messing with bootloaders so flashing my Ender 3 Pro was as easy as putting the new firmware file on the microSD card, putting the card into the printer, and powering it up.
There are several options for obtaining the latest version of Marlin: you could download a pre-compiled binary file with specific options configured from a site like marlin.crc.id.au (membership required, but they also have an option to configure/build your own) and flash it directly onto your printer; or download the source code from Github and customize/compile it yourself. I’m no stranger to VSCode, Github repos, and compiling code, so I went with the more flexible second option. I added the Auto Build Marlin extension to my VSCode install, downloaded the latest v2.1.2.1 branch source from Github, and then got to learning and tinkering.
After downloading the Marlin source, you next need to grab the basic configuration files for your target printer. Again, the Github repo has an extensive list of supported 3D printers so I just had to get the files for the Ender 3 Pro with the v4.2.7 Creality mainboard and copy them into the main source folder. Customizing Marlin involves editing two primary files: Configuration.h and Configuration_adv.h. Both files are extensively commented so it’s relatively straightforward to just scroll through, read the comments, and then uncomment (or comment) out specific lines to enable/disable options and set custom values. Like a good programmer I made sure to comment all my changes so I could easily re-apply them when a new version is released.
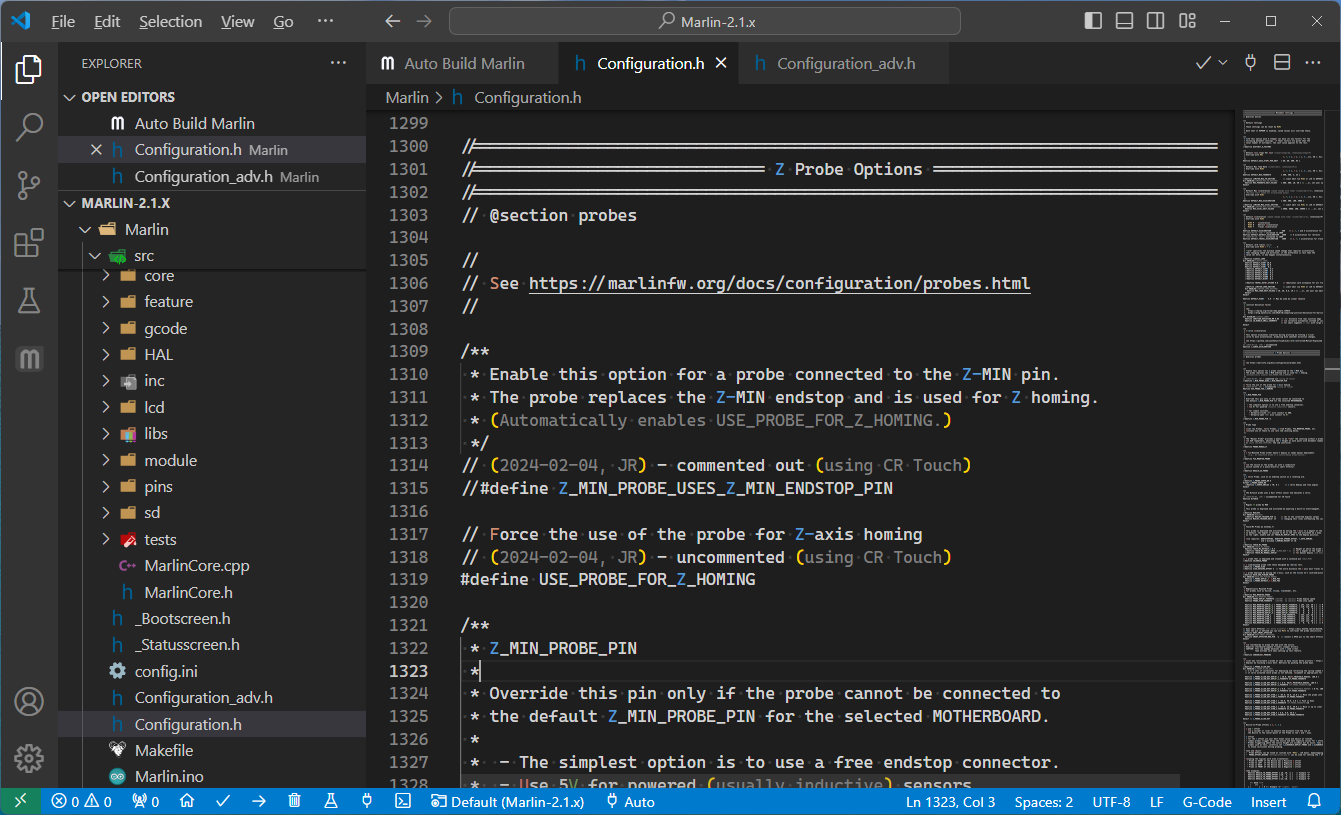
Auto Build Marlin in VSCode
For my first custom compile the changes were only related to enabling the CR Touch and automatic bed levelling, based on what I had read and viewed online (basically trying to achieve feature parity with the existing Creality-delivered firmware). After saving the changes to the config file I just had to click the “build” button in the Auto Build Marlin extension and a few minutes later I had a 171KB .bin file with my new firmware. I copied the file onto the microSD card, inserted it into my Ender 3 Pro, and powered it up. After a few seconds of a blank blue screen, I was greeted with the Marlin logo and then familiar status screen: success!
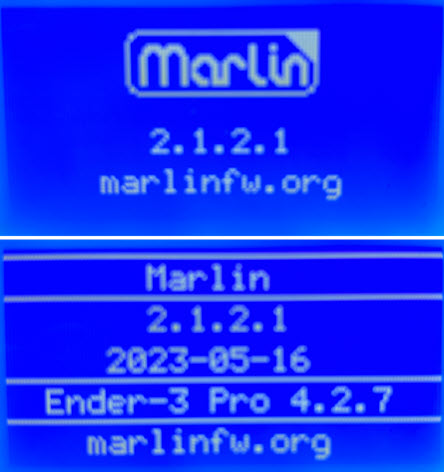
Marlin 2.1.2.1
When flashing a new firmware typically the settings stored in the printer’s EEPROM will need to be cleared, so some things need to be configured again like the ABL mesh, Z-probe offset, PID tuning, etc. As I started getting more comfortable with the “customize > compile > flash > test > repeat” procedure I got pretty good at quickly running tests (auto home, bed level, etc.) and resetting settings as I went. I now have a pretty detailed document listing all my customizations to Marlin and my M503 settings so I can quickly set up the printer after flashing a new build onto it.
As I got more confident I started researching and enabling more advanced features (in addition to the CR Touch/ABL stuff) in Marlin like:
- PID tuning for the bed (PIDTEMBED)
- S-Curve acceleration (S_CURVE_ACCELERATION)
- advanced pause and nozzle park to allow for filament changes during prints (ADVANCED_PAUSE_FEATURE, NOZZLE_PARK_FEATURE)
- host action commands (to allow the printer to report status back to OctoPrint) (HOST_ACTION_COMMANDS)
- increased the points for ABL to a 5×5 grid (GRID_MAX_POINTS_X)
- increased retract/travel acceleration (DEFAULT_RETRACT_ACCELERATION, DEFAULT_TRAVEL_ACCELERATION)
Using the pause/park features with the host action commands I was able to experiment with changing filaments mid-print for multi-color prints like this (I even set up OctoPrint to send me a text message when the print has been paused and needs a filament change). So cool!

three color sign print
I also customized the boot (_Bootscreen.h) and status (_Statusscreen.h) screens adding my own little custom logo (to remind me I’m running customized firmware):
customized boot and status screens
About a week into my customized firmware journey, a new version of Marlin was released: v2.1.2.2. Perfect timing, this gave me a chance to download the new source (and configs), re-apply my customizations, re-compile, and re-flash. Unfortunately, the very first thing I tested (auto home) resulted in the Z-axis motor not stopping and grinding the extruder nozzle into the bed (and slightly bending the X-axis carriage) with a terrible noise. I had to power off the printer and then use the knob on the Z-axis screw to raise the extruder up from the bed. The nozzle left an indentation in my magnetic bed cover. Ugh!
Figuring I had messed something up with my customizations around the CR Touch, I went back through my customizations and double-checked everything. I also did some Google searching but couldn’t find anyone else reporting a similar problem with the new Marlin release. No matter what I tried in 2.1.2.2, every firmware I built crashed the nozzle into the bed. Finally, I re-flashed back to my prior 2.1.2.1 build and the problem went away! I logged an issue on Github and it turned out to be a bug! A temporary patch was proposed which I tried and it worked: I was able to compile my customized build of 2.1.2.2 and did not have the grinding problem anymore. Whew!
I’ll continue to dig into the Marlin settings and tinker/tweak, but so far I’m really happy with the results of using the current (and customized) firmware on my 3D printer!
The patch for my reported bug has been merged into Marlin 2.1.2.3.