 Hey, just so you know ... this post is now about 5 years and 2 months old. Please keep that in mind as it very well may contain broken links and/or outdated information.
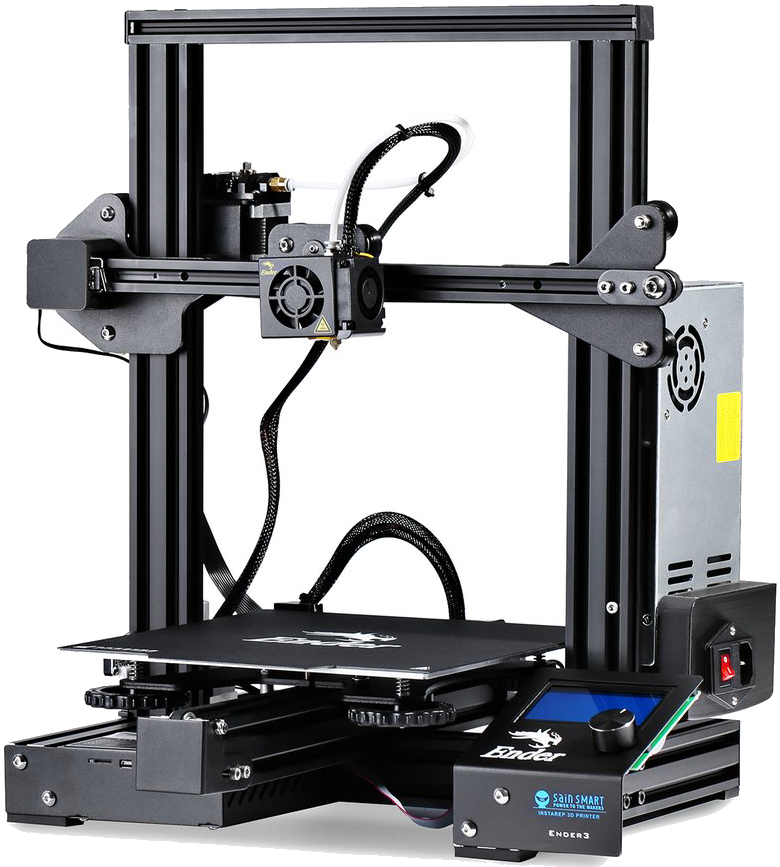 I have a new hobby!
For Christmas, my wife and daughter surprised me with a 3D printer, the (SainSmart-branded) Creality Ender-3 Pro. It was a well-timed gift since we were stuck at home for the holidays and winter break so I had a whole week to immerse myself in a brand new area of tech, learning about new acronyms (FDM, PTFE, PLA, TPU), terminology, filaments, web sites, and, of course, printing stuff!
Where to start?
If you’ve read any part of this blog, you know I’m an IT guy/tech nerd/gadget freak. I’m not scared of technology or learning new stuff. I have to admit, however, that with the Ender 3 Pro I was initially pretty frustrated! This is not something you just pull out of the box, turn on, and start printing cool plastic 3D objects. A 3D printer is really a kit, so not only was there a lot of assembly involved, there was a lot of reading, learning, and apprehension before I ever executed my first print. There are so many versions and variations of this particular printer, it took me a while to narrow down what I actually had (board version, firmware release, hardware, SainSmart upgrades, etc.) and be able to distinguish it from all of the other Ender printers out there. YouTube turned out be incredibly helpful here … there are all sorts of assembly videos, calibration videos, timelapse printing videos, etc. out there, and I watched a lot of them. They helped to supplement the sparse (and sometimes confusing) documentation that came with the printer out of the box (shout outs here to SainSmart (assembly), Tomb of 3D Printed Horrors (bed levelling) and CHEP (bed levelling)).
-
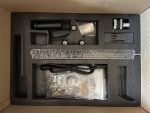
- some assembly required

-

- in-progress
-
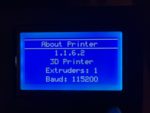
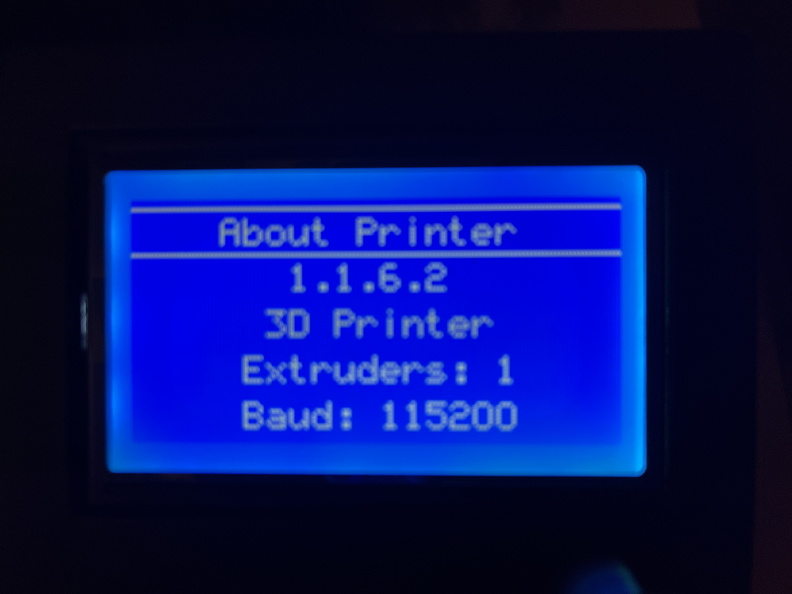
- firmware version
-

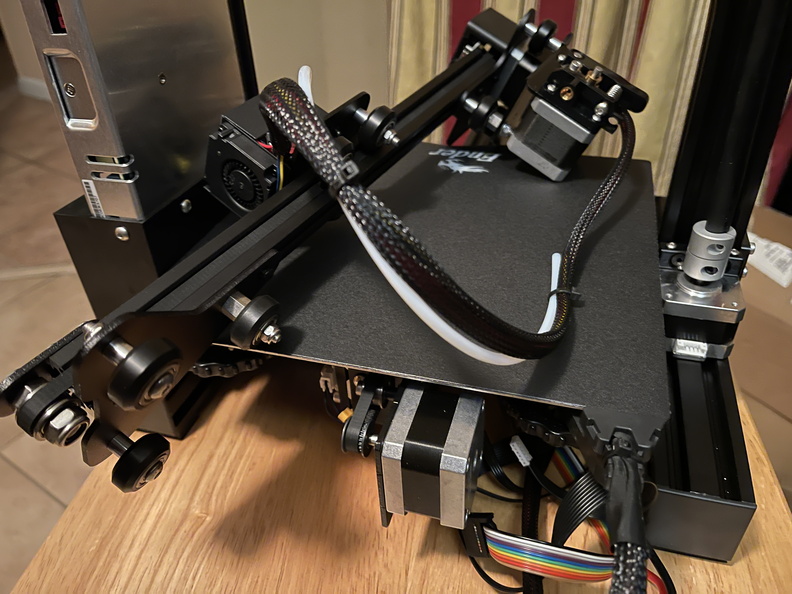
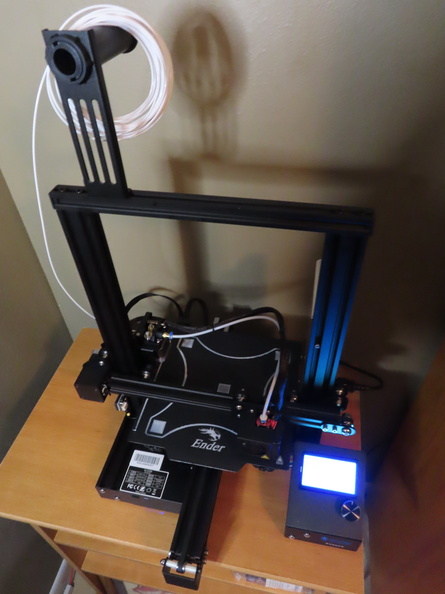
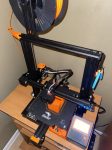
- assembled setup
-
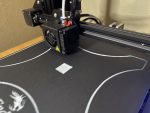
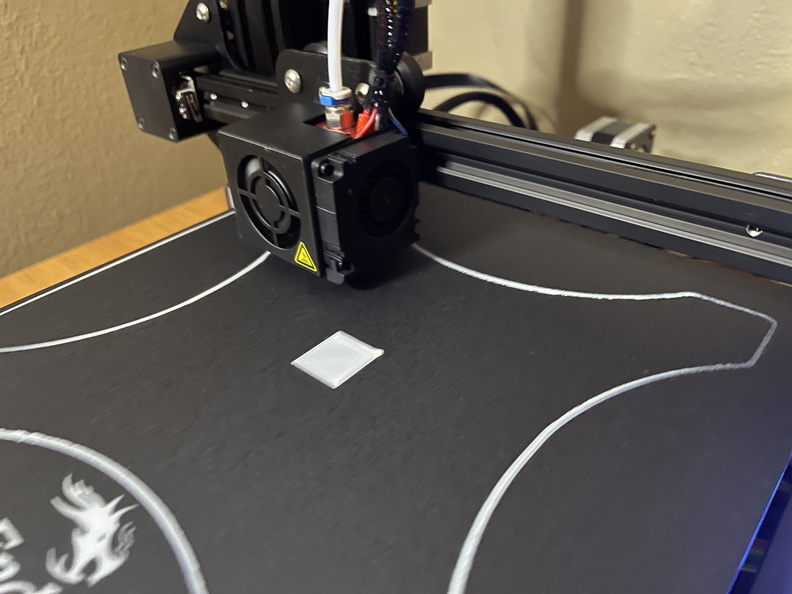
- bed level print test
-
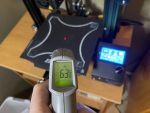
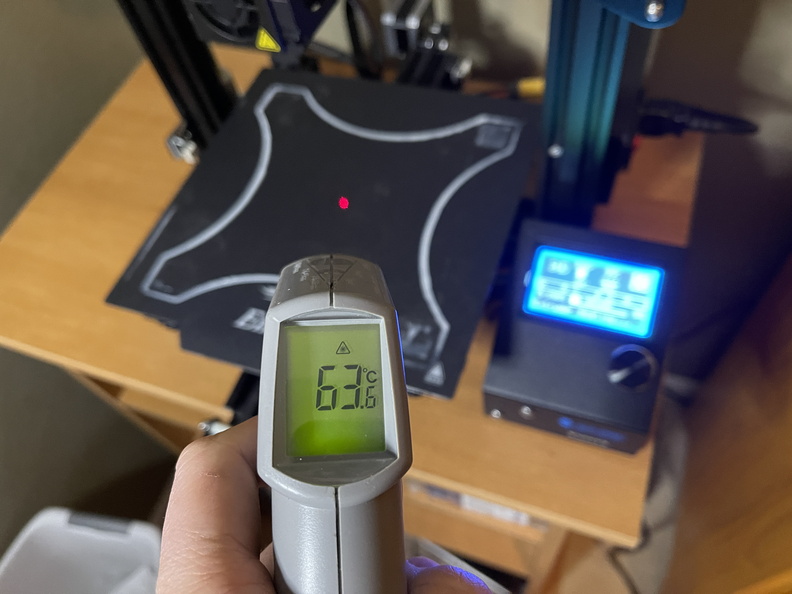
- checking bed temp
With the printer assembled, bed levelled, and sample filament loaded, it was time for my first print. Simplified, 3D printing involves: designing the model (in CAD software) to produce a stereolithography (STL) file; slicing that file in another piece of software to produce layer-by-layer Gcode instructions for your printer; and, finally, executing (printing) that Gcode file on the printer which interprets the instructions (temperatures, X/Y/Z coordinates, extruder speed, etc.) and produces the object. On the printer itself, the plastic filament is pulled off a spool by the extruder, which feeds it through a tube to the hot end where it’s melted at the specified temperature (like 200°C) and comes out of the nozzle. Electronically-controlled stepper motors control the movement of the bed and nozzle along the X, Y, and Z axes which allows the printer to “draw” each layer of the object, building on top of the previous layer(s) until the object is complete. It’s mesmerizing to watch, but time-consuming (which is why most people create time-lapses of their creations, more on that later).
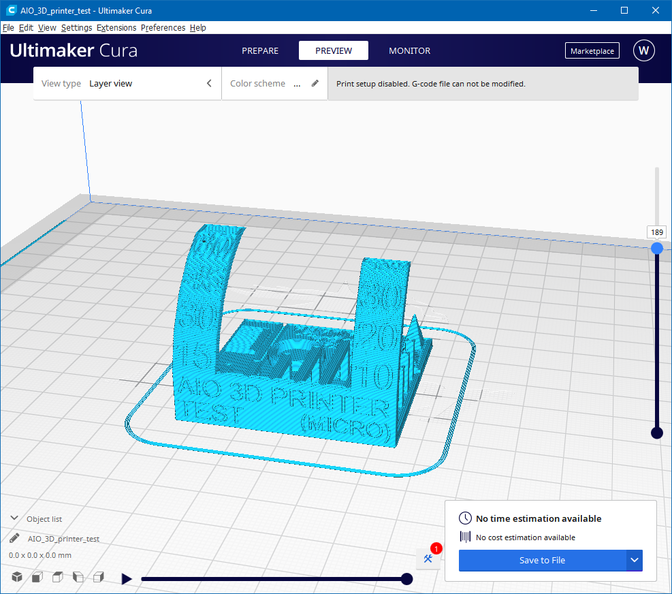
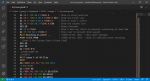
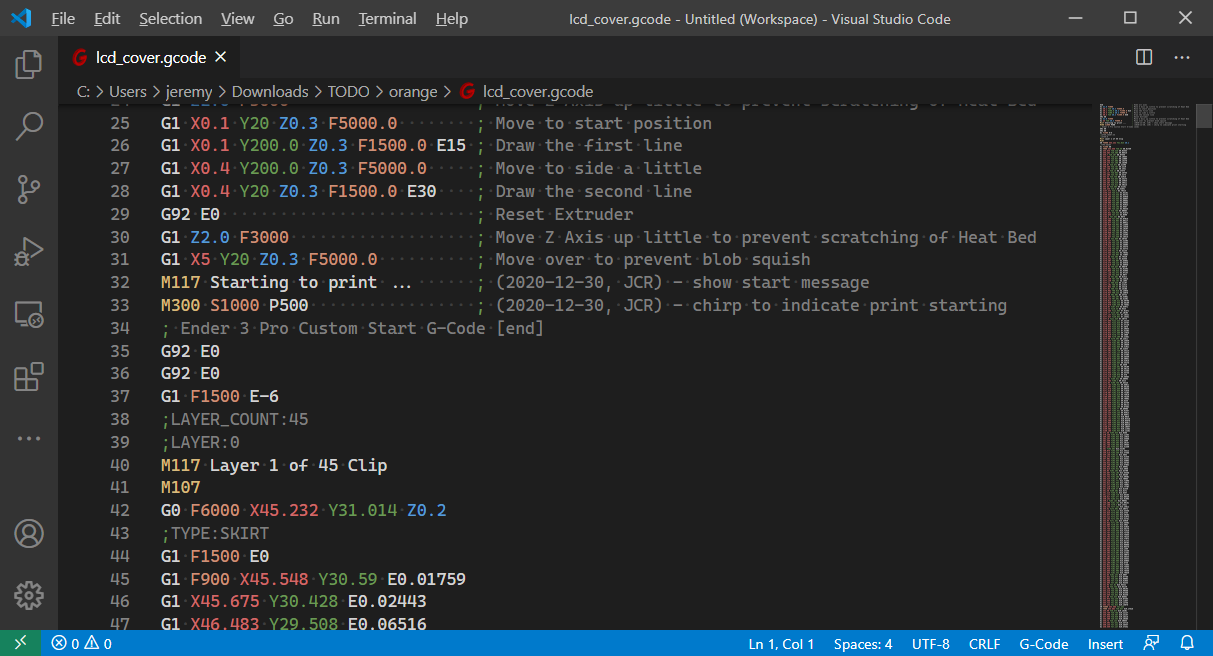
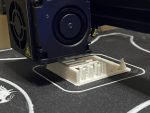
Skipping the “design” step for now, I immersed myself in sites like Thingiverse, Cults, and MyMiniFactory, browsing other people’s STL models . Caution! It is very easy to lose track of time just browsing models on these sites! 🙂 The Ender 3 Pro came with two different slicer programs, Creality Slicer, and Cura 15.04 (which I later figured out is actually considered version 1.x) but I ended up downloading and using the latest 4.8 release of Cura since I wanted to learn on the “current” version. With the STL file loaded into the slicer, I set the (various and numerous!) options for the print: bed and nozzle temperatures, movement and retraction speeds, layer thicknesses, infill percentages, on and on! I spent a lot of time reading up on and learning what (some, but not all!) the settings were for (All3DP has a nice tutorial here) and since I’m also a coder, I spent some time checking out the resulting Gcode and learning how I could tweak it manually myself. Rather than use the silly dog figurine model that came on the micro SD card included with the printer (along with software and drivers), I chose an “all-in-one” printer test.
-

- slicing in Cura
-
- sample Gcode
-
- model printing
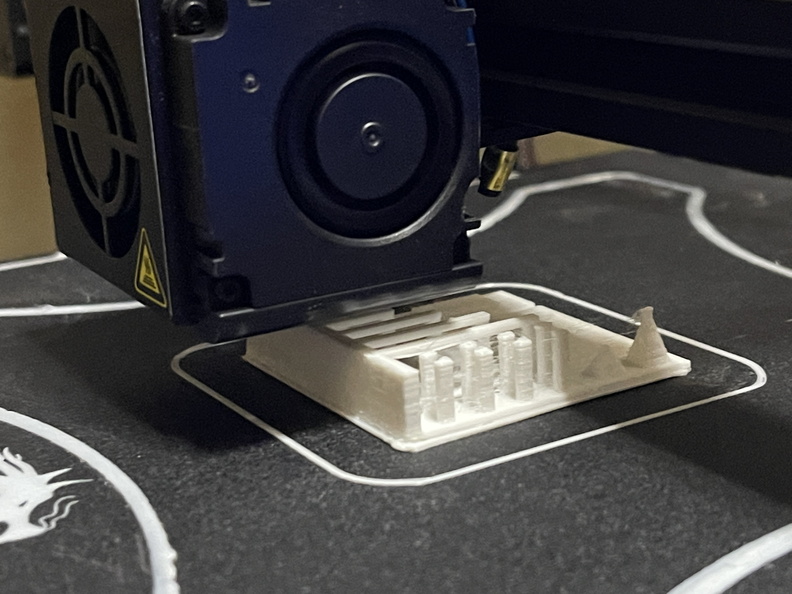
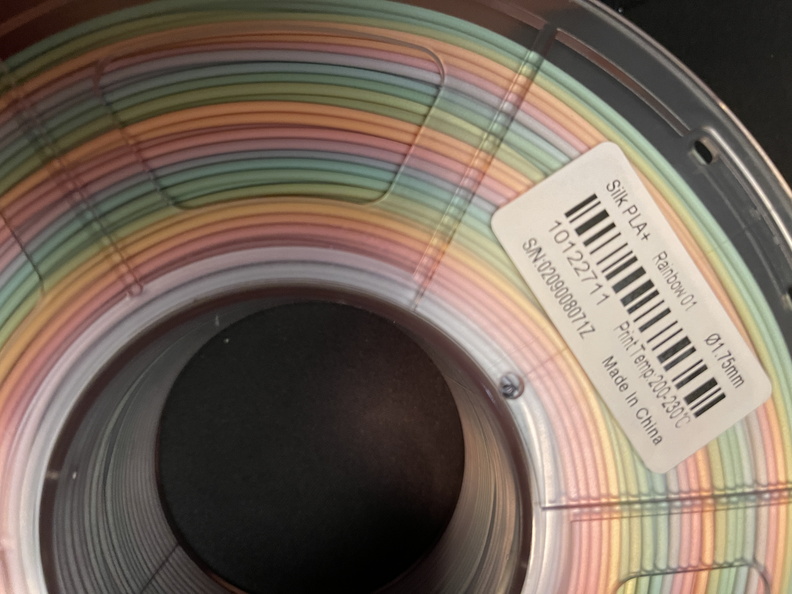
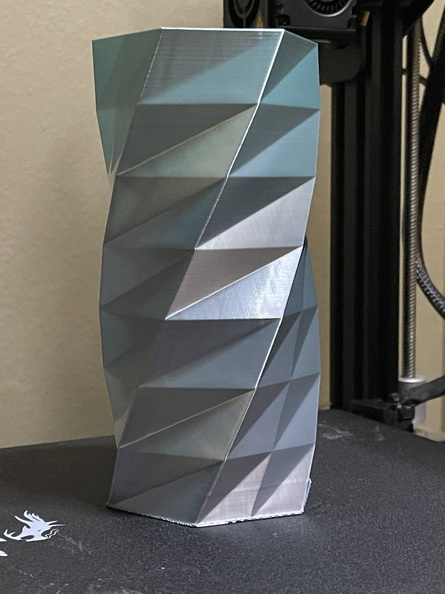
Traditional printers need ink or toner. 3D printers need filament. There are a lot of different types of filaments and each has their pros and cons, melting temperatures, heated bed requirements, etc. My wife had bought a bunch of spools to get me started, but it turned out that except for a single spool of PLA+ rainbow colored filament, the others were TPU that the Ender 3 can’t really handle without some additional upgrades. I returned those and ordered some new spools of PLA (and PETG) from a variety of different manufacturers to get started with something other than the 10m of white PLA that came with the printer. Not all filaments are created equal: my wife thought this rainbow PLA+ would make for some cool prints, but the color changes are so far apart (15m?) that you’d have to be printing something pretty large to get a color change. In the photo below, you can see a slight transition from silver/blue to silver/green near the top of the vase. Does that look anything like the models in the ad?
-
- rainbow on the spool
-
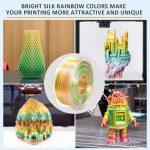
- rainbow in the ad
-

- model printed in with “rainbow”
I spent the rest of my vacation week browsing Thingiverse and printing models. It turns out that a lot of people print parts and upgrades for their printers, so I started printing add-ons (knobs, covers, tool holders, filament guides, etc.) in my AmazonBasics orange PETG (I like the black and orange color combo). This gave me lots of experience dialing in the proper settings for a new filament type, learning how to deal with print issues (adding supports, initial layer adhesion, fixing stringing, etc.), and basically getting a feel for how the printer physically operates.
-

- filament guide
-
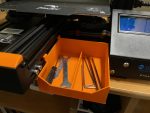
- parts drawer

-
- “final” result

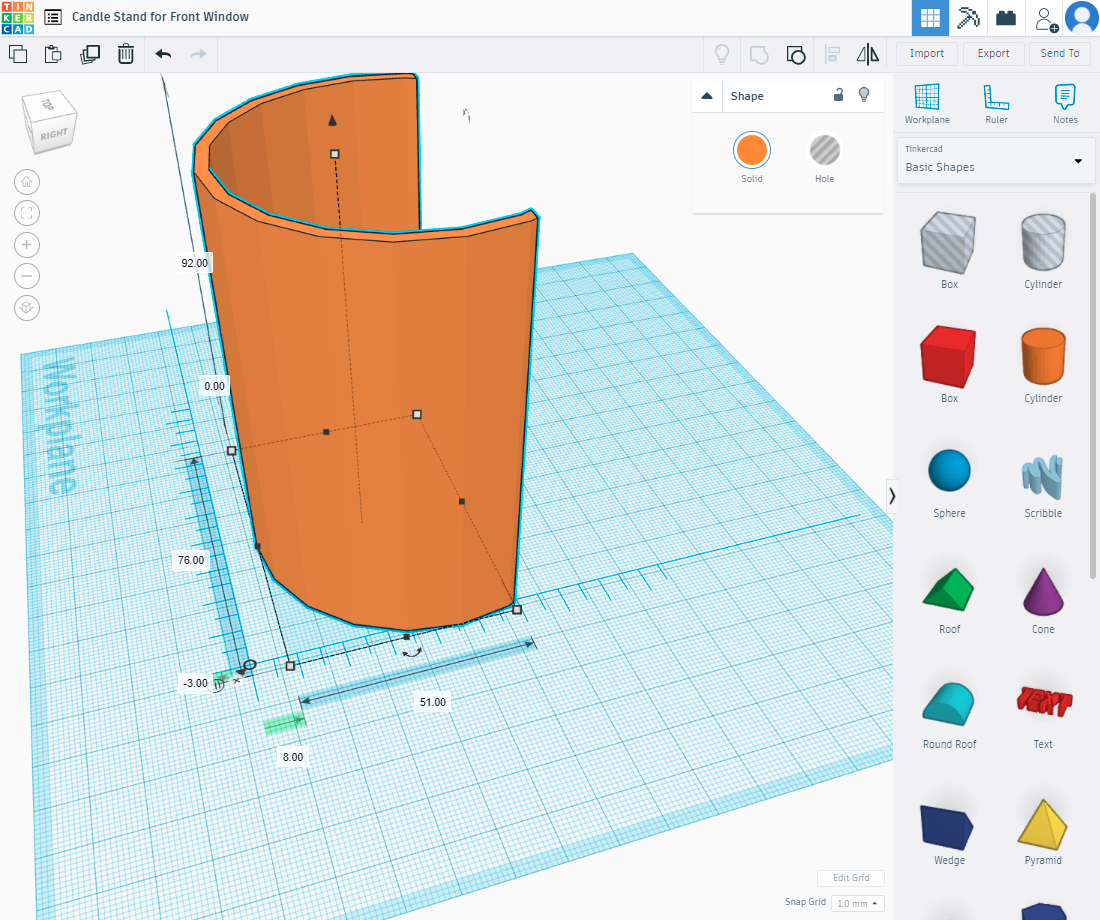
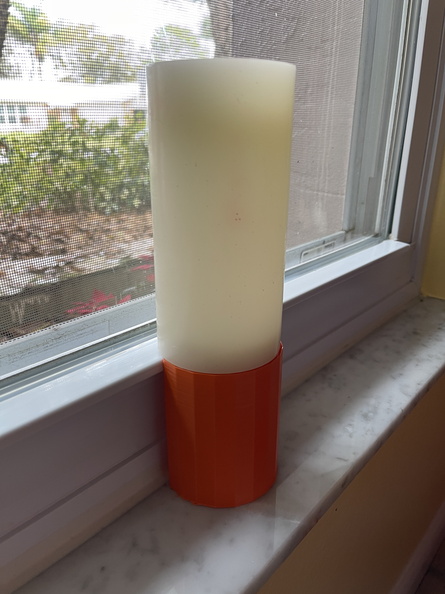
Now that I had a feel for printing models, how about designing them? There’s a lot of (expensive) CAD software out there (like Fusion360) but I started easy and cheap (free) with Tinkercad. Since I was learning, I started simple. We put LED candles in our front windows for Christmas and due to the height of the candles and the windowsill, I’ve been using spare cans of vegetables as a candle stand. After taking some detailed measurements, I was able to design a simple solution in Tinkercad, export the STL, slice it, and print a quick (low quality) prototype. Success! No more canned veggies under the candles! I’m going to re-print these in white (for next year) once my new filament is delivered. I don’t see myself getting into hard-core CAD design, but I might attempt some modifications (“re-mixes” in Thingiverse terms) to other people’s models.
-
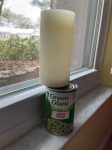
- the problem

-
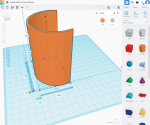
- designing the solution in Tinkercad
-

- the solution
One thing I skipped over above was actually getting the Gcode file onto the printer to print. No WiFi or ethernet jack on the Ender 3 Pro so there are two ways to do this: microSD card, or USB cable connection. I didn’t have a USB cable long enough to reach from my PC to the printer, and some of my initial research seemed to indicate that USB printing from Windows with the drivers could be problematic, so for now I’ve been slicing and creating the Gcode in Cura on my PC, saving it to the microSD card, then putting the card into the printer and printing from the card. But of course I’ve found OctoPrint: a Raspberry Pi solution for printing, monitoring, and creating time-lapses. Again if you’ve followed this blog you know I have a few RasPis laying around so this is right up my alley. I installed OctoPi on a spare Raspberry Pi Model B (one of the original models from 2012) and while it kinda works, it’s really slow (I’m sure the 512mb RAM and 700MHz processor don’t help) so I wouldn’t want to risk using it to control prints directly. I’ve got a new RasPi 4 and camera on order so I can build a full-blown OctoPrint solution. Stay tuned! In the meantime, I’ve made some time-lapses the old-fashioned way … a camcorder and some video editing software (samples here and here).
I hope my wife doesn’t regret this gift. When she bought me my first TiVo back in 2002, it turned into a 17-year obsession. 😉
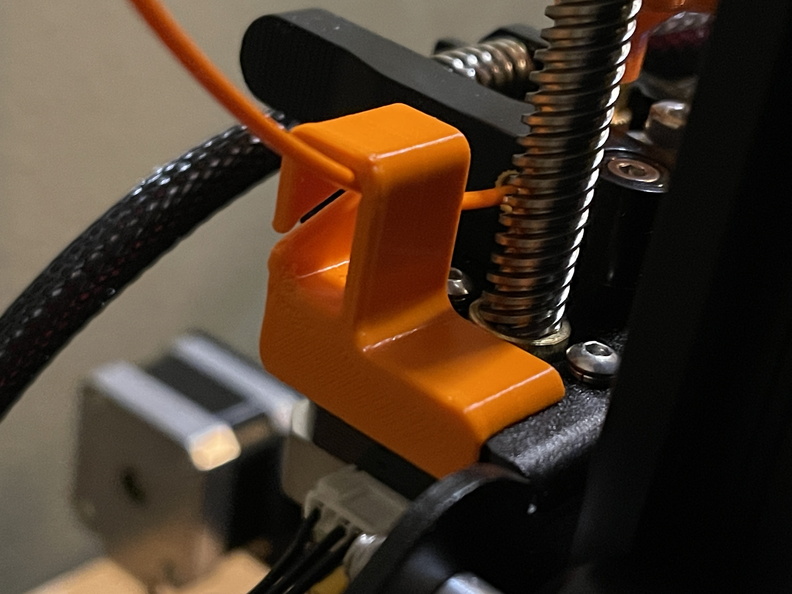
It’s a little dark in the corner of my office where I’ve got the printer set up, so I added this excellent LED light bar from Gulf Coast Robotics:
I even printed their dimmer switch holder to attach it to the back of the frame (the orange part on the right side of this photo):
Super nice!
I’ve been introduced to lithophanes, so these will be my new obsession for a while. Here’s my first attempt:
Hardware upgrades!