Capturing the Cosmic Cuttlefish

October: it’s fall, but we’re still seeing temps in the high 80s here in central Florida. The Browns have played 4 overtime games in the first seven weeks of the NFL season. The Lebron-less Cavaliers have lost their first four games of the new NBA season. And hockey has started again (the Lightning are 6-4 and currently drubbing the Blackhawks 4-1 as I write this (they set an NHL record 33 shots-on-goal in the second period alone))!

Ok, enough of the fall sports update, it’s time for another type of update: Ubuntu 18.10 Cosmic Cuttlefish was released last week.

Just like back in April (and every time before that), the upgrade process itself was smooth: I issued the do-release-upgrade command and the whole process took just under 20 minutes to download the new packages and execute the reconfiguration. I then re-applied my customizations to a few affected configuration files, rebooted the server, and was back in business:

$ lsb_release -a
Distributor ID: Ubuntu
Description: Ubuntu 18.10
Release: 18.10
Codename: cosmic

$ uname -r
4.18.0-10-generic

So far I haven’t run into any post-upgrade issues (which has happened to me the past few times, being an early adopter), but I’ll update this post if I do have any problems.

Coming in the spring … 19.04!
Braving the Bionic Beaver

The NFL Draft is done (will the Browns overall #1 pick, Baker Mayfield, help them win at least one game this year?), the Lightning are in the second round of the Stanley Cup Playoffs (facing off against the Boston Bruins), the Cavs survived a seven game first round series against the Pacers, and one month of baseball is in the books (the Rays have won eight straight but are still close to last in the East, and the Indians are in first place in the Central). Yeah, it’s Spring in late April, which means it’s time for the latest Ubuntu LTS release, 18.04 Bionic Beaver.

Just like last time in October, the upgrade process itself was smooth: I issued the do-release-upgrade command and the whole process took just under 15 minutes to download the new packages and execute the reconfiguration. I then re-applied my customizations to a few configuration files, rebooted the server, and was back in business:

$ lsb_release -a
Distributor ID: Ubuntu
Description: Ubuntu 18.04 LTS
Release: 18.04
Codename: bionic

$ uname -a
Linux nucleus 4.15.0-20-generic #21-Ubuntu SMP Tue Apr 24 06:16:15 UTC 2018 x86_64 x86_64 x86_64 GNU/Linux

But also like last time, I had a handful of post-upgrade, early adopter issues:

  • I had to enable the PHP 7.2 for Apache (a2enmod php7.2) so it wouldn’t serve up PHP files as plain text (I had this same issue last time)
  • I had to manually install the php7.2-xml package for (Piwigo and phpSysInfo)
  • I had to manually re-install the smbclient package (for Nagios)
  • Pulseway won’t start due to a “undefined symbol: CRYPTO_num_locks” error (forum post)
  • I had some errors in phpMyAdmin (due to the PHP 7.2 update) that I fixed with this manual patch (it’s also fixed in the latest release, 4.8.0.1)
  • the Unifi controller wouldn’t start which turned out to be a problem with MongoDB being upgraded from 3.4 to 3.6. I had to downgrade back to 3.4 to get the controller running again, issue a db.adminCommand( { setFeatureCompatibilityVersion: "3.4" } ) command to get my database upgraded (it was actually still in a 3.2 structure), and then re-upgrade to 3.6. I also had to copy /usr/bin/mongod to /usr/bin/mongod.bin and create a workaround script named /usr/bin/mongod to get the controller to start (forum post)

Check back here in October for 18.10!

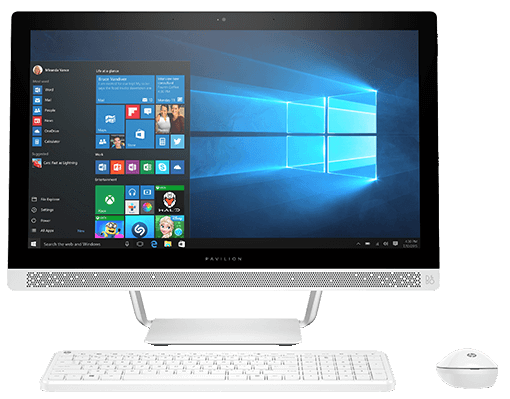
hp Pavilion 24-r014 All-in-One PC

hp Pavilion 24-r014

For the past few months our family PC (the Dell XPS 18 all-in-one) had been giving my daughter fits. It was time for a change.

I looked at the latest Dell all-in-ones but wasn’t able to find one that acted like a tablet like the XPS 18. It was pretty convenient for my daughter to be able to unplug the PC in the family room and take it back to her room without the need to shut down or move a bulky AC adapter. But apparently most all-in-ones now-a-days don’t have batteries anymore. Considering the reason I was replacing the XPS 18 was because of battery issues, I decided that wasn’t a big deal. After my usual research, I decided on the hp Pavilion 24-r014.

Read more

Hydra: TiVo’s next-generation user interface

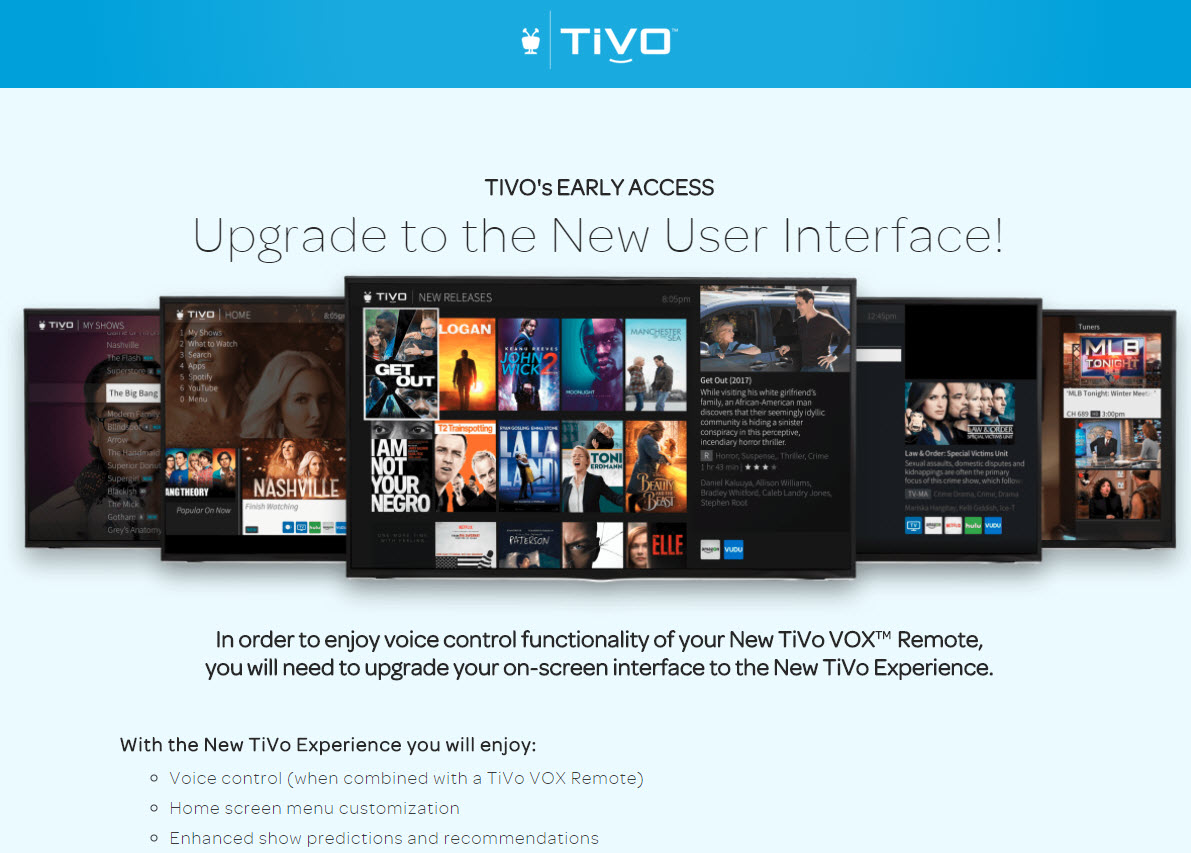
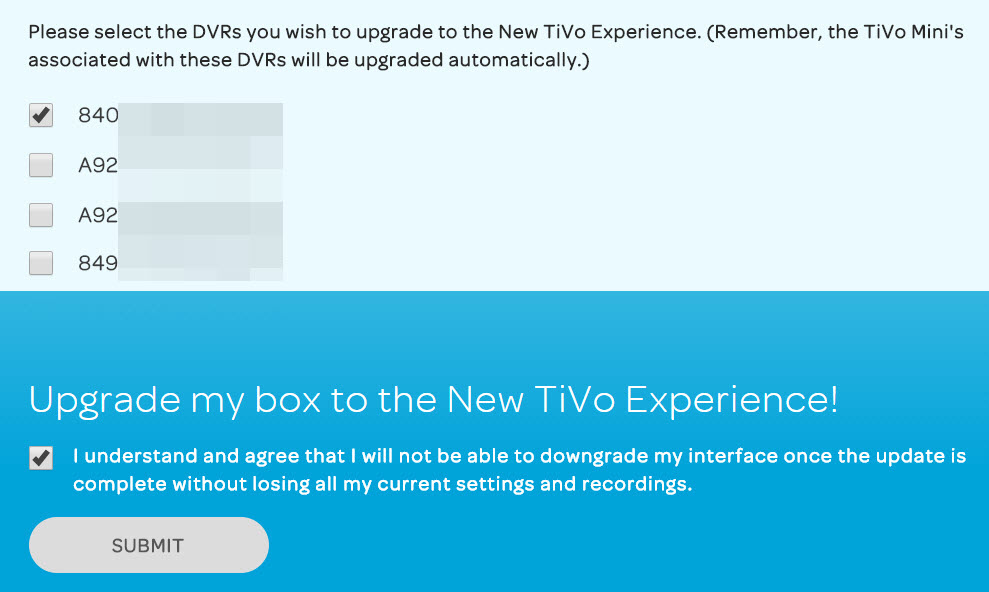
Last weekend, TiVo officially released their next-generation user interface, code-named Hydra so I used the Early Access Request link posted by TiVo_Ted on the TiVo Community Forums to upgrade my Roamio Pro so I could check it out:

Hydra early access page

Hydra early access DVR selection

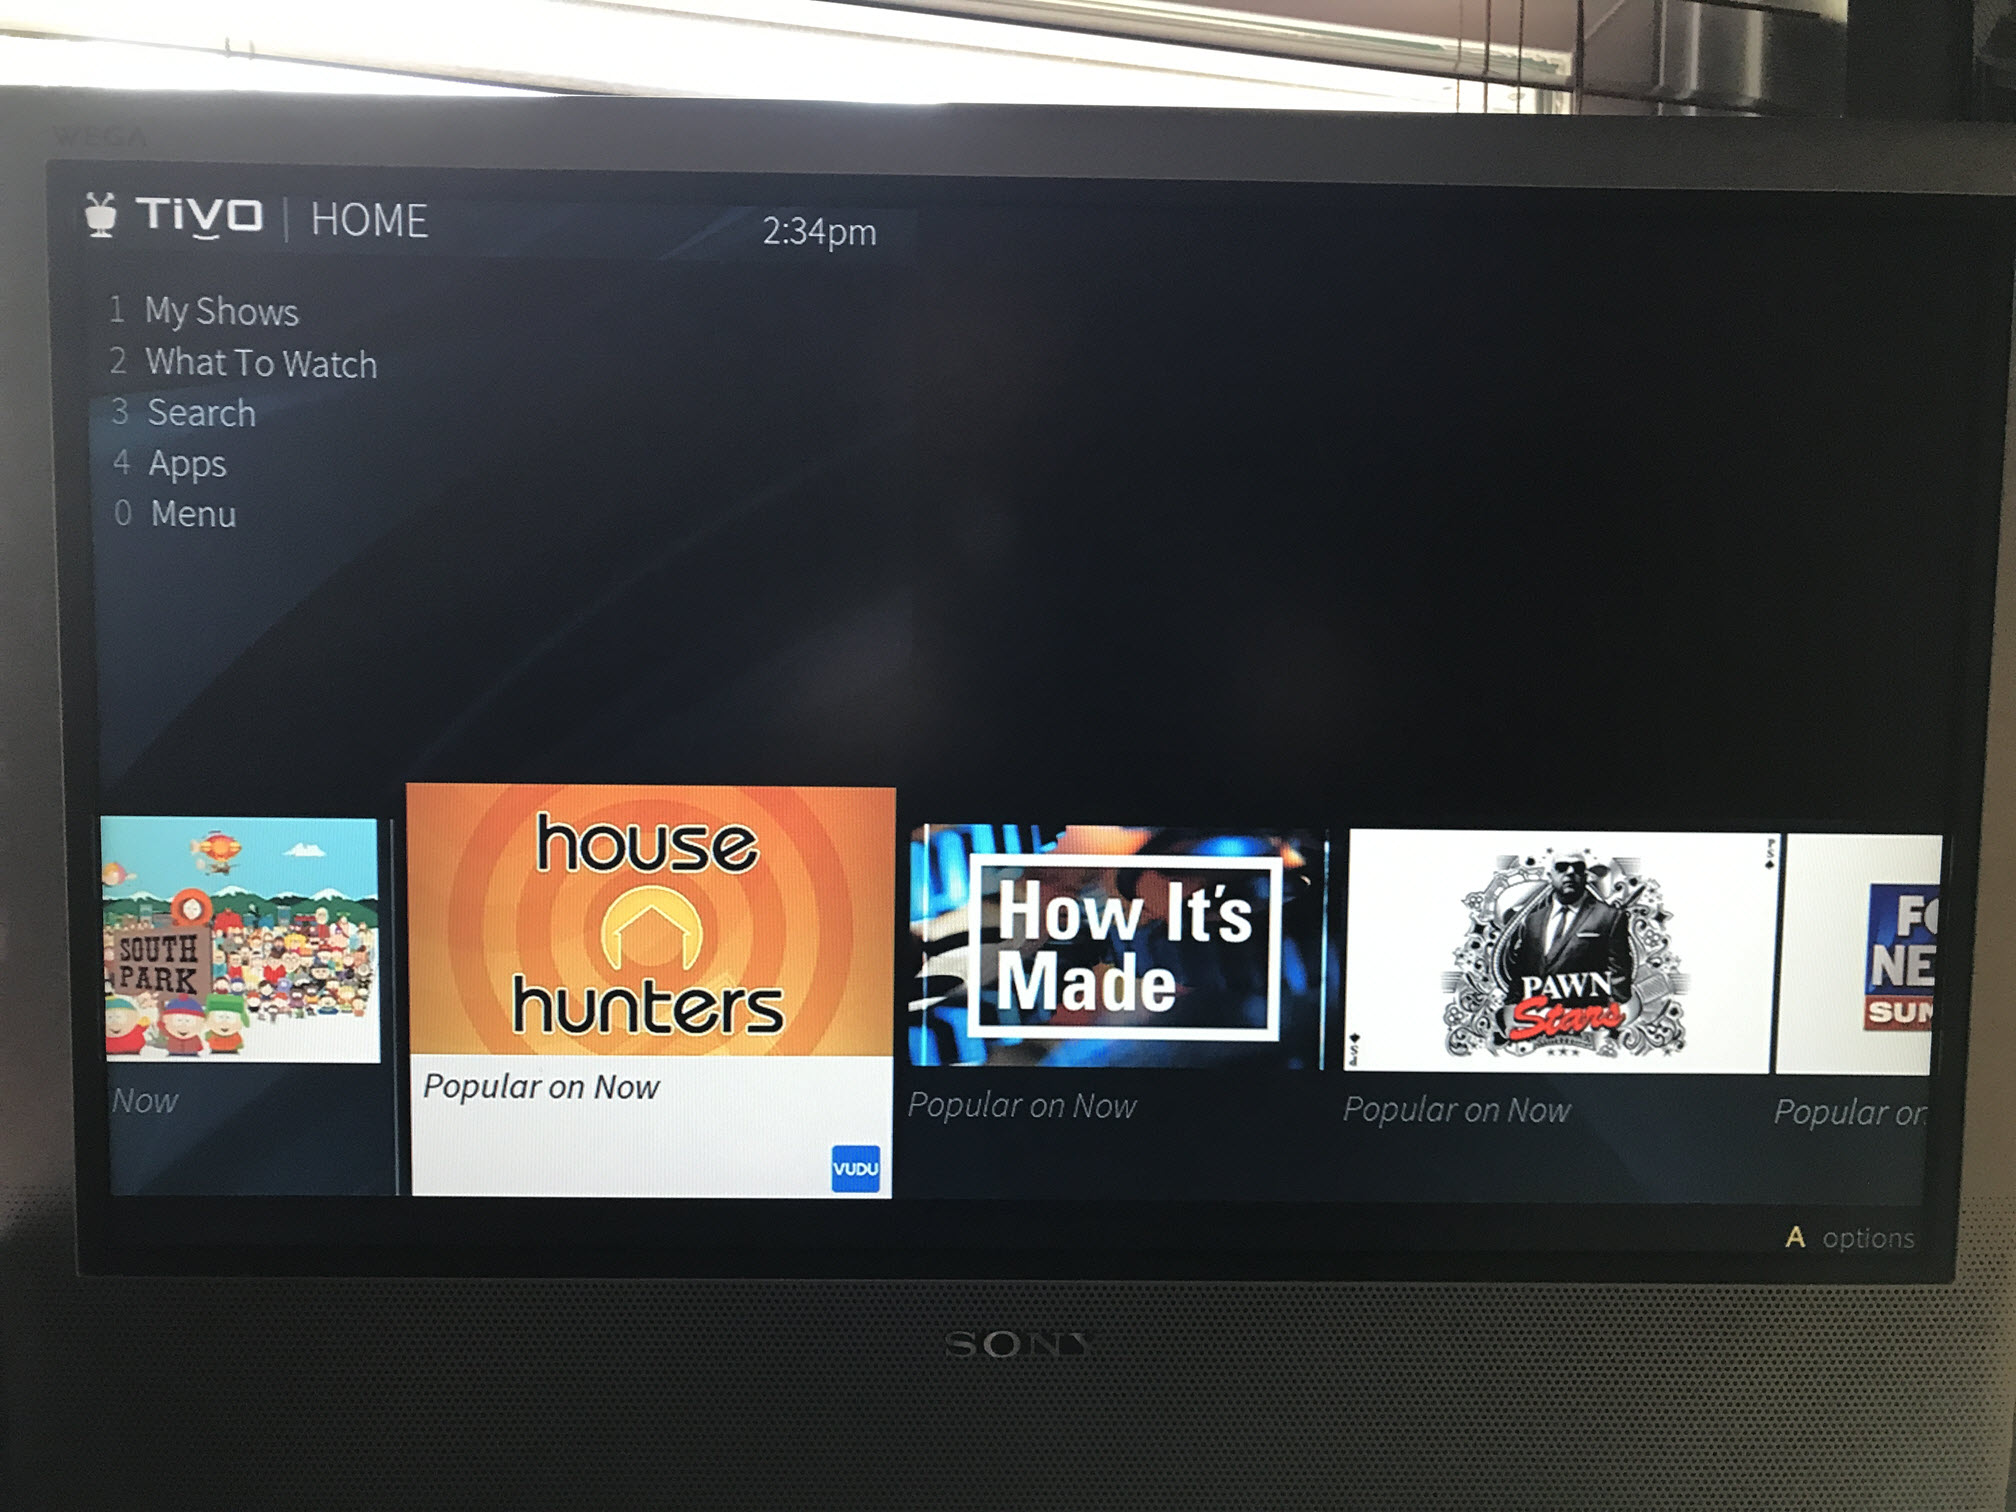
A few hours later, my box had upgraded to 21.7.2.RC7 and the next-generation UI:

Hydra UI

The new navigation structure and screen layouts are going to take some time to get used to. I have a lot of TiVo-related muscle memory that no longer works (like using Left to go back a screen, or pressing “1” on TiVo Central to jump to OnePasses, etc.). Think carefully before upgrading your own box(es) to Hydra … if you want to go back to the “classic” UI it will involve a complete reset of your box, which means you’ll lose all recordings, settings, etc. Ouch.

Mainly the reason I upgraded one of my boxes was so that I could start updating my Alexa skill for the new UI navigation. I’ll post more opinions once I have more time to play around with Hydra.

Retro gaming + Raspberry Pi = RetroPie

There’s no shortage of retro dedicated gaming consoles in today’s marketplace: the Atari Flashback has been out for years (in several iterations) and more recently the NES Classic and SNES Classic have made headlines as they fly off the store shelves. I’ve owned two Flashbacks (both gifts), bought a few Virtual Console games when I was still playing my Wii regularly, and recently resurrected my old Atari 800XL for classic gaming, but then I found RetroPie.

Read more

Trying out the Oculus Rift

I just got back from a trip around the solar system via the Oculus Rift.

I’m no stranger to VR: I bought and read a lot of VR-related books in the early 90s, owned a Nintendo Power Glove (which I connected to my PC for some basic homebrew VR), ran a VR-themed BBS, and my first gaming experience was playing Dactyl Nightmare when a travelling Virtuality exhibit came to my college.

Read more

Home Assistant

Back in February I read about Home Assistant on a TCF thread. At the time, before I knew a lot about it, I thought maybe it could be used to make the setup of my TiVo Control skill for Alexa a little easier. That turned out not to be necessarily true, but I did learn about proxying HTTPS requests through Lambda which was helpful for people who couldn’t host their own HTTPS server at home.

HA is written in Python and has a ton of components to contributed by the user community. The big automation players are here (Amazon Echo, Nest, IFTTT, Hue, etc.) plus a lot of smaller or lesser-known modules (like IKEA’s new TRÅDFRI light bulbs). You can mix and match these components by adding a new section to your configuration.yaml file with the required settings. With device location tracking you can set up automations with a basic trigger/condition/action setup.

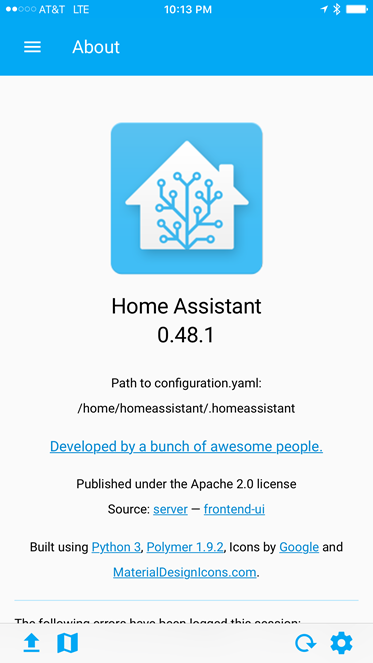
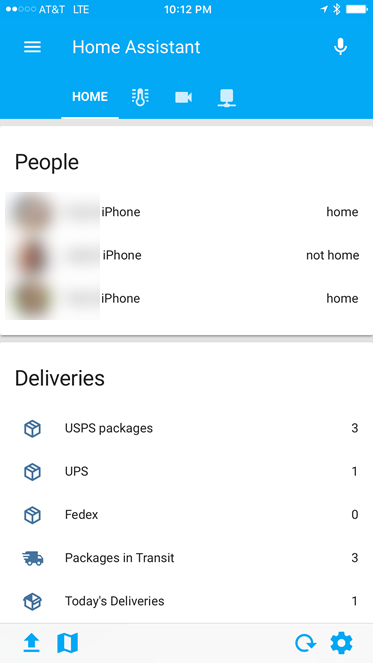
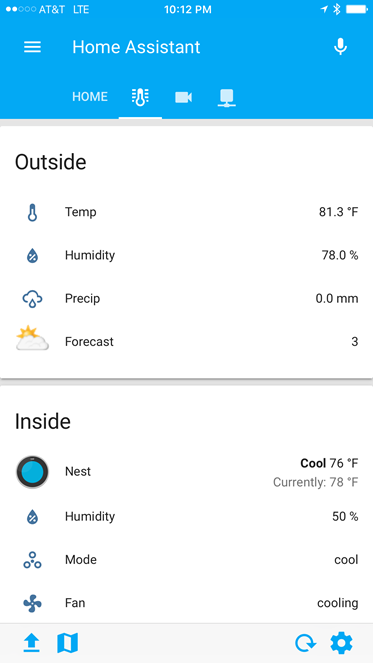
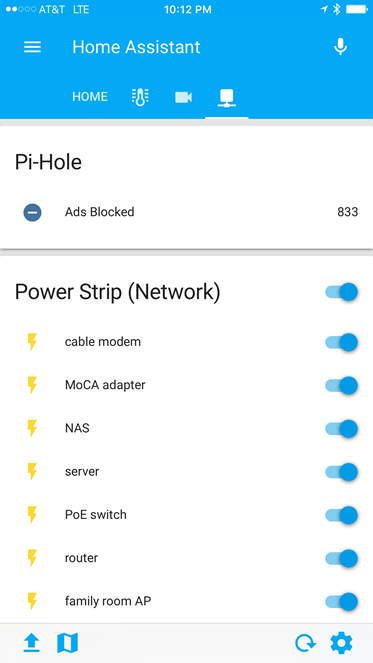
Since most of my home automation is done via Z-Wave devices tied to my ADT Pulse system (which finally has some basic Amazon Echo support of its own), I haven’t played around with HA’s powerful features automation, control, and push notification features. For now, I’m using the iOS app to connect to my HA install. From there I can see the status of my Nest thermostat, view my Dropcam and TRENDnet cameras, and even control my web power switches from a single application dashboard.


My first Piwigo plugin

I switched from Gallery to Piwigo back in 2015 for my photos website software. Since then, one thing that has always bugged me is how Piwigo handles “physical” albums. The “normal” Piwigo user just uploads photos through the web interface, which puts all of the photos into a “/upload/year/month/day/randomfilename.jpg” folder structure. You can then link the photos into one or many “virtual” albums. While this is a pretty flexible approach, I prefer to use a physical album structure: where the albums in my Piwigo site match the physical folder layout on disk.

The problem with using physical albums, however, is that I tend to occasionally re-organize and move a photo or video to a different folder. For example, maybe I had a single photo of the Statue of Liberty which I dumped into my “New York” album, but then I had a few more photos so I decided to create a “Statue of Liberty” sub-album under “New York” and move the exiting photo there. With Piwigo’s synchronization process the file’s original location is deleted from the database and re-added in the new folder location which means all of the metadata associated with the item (tags, description, etc.) are lost and need to be re-entered.

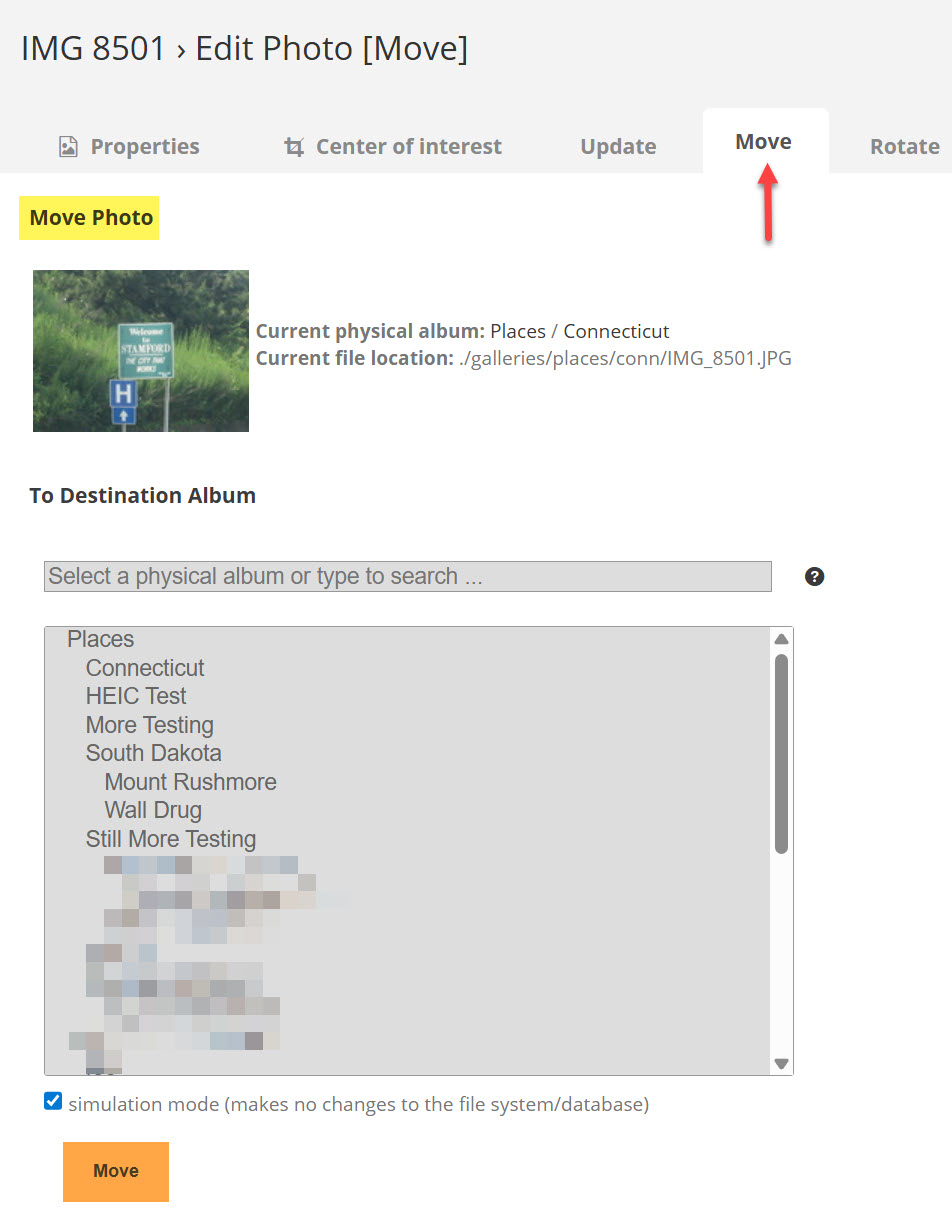
For the past two years I’ve been dealing with this manually: make a note of the description and tags of the photo, physically move the file, run Piwigo’s sync process, and then edit the file and add back the description and tags. Finally, I decided to write a plugin to do this automatically. PPM (Physical Photo Move) is an attempt to alleviate this inconvenience by allowing an existing item in a physical folder to be moved to another folder and keep all the existing metadata.

I just published the first release to Piwigo’s plugins repository tonight and my source code is here on Github. Check it out and let me know what you think!

Moving from Google Photos to Amazon Prime Photos

I’ve been using Google Photos since it was announced back in 2015 as a belt-and-suspenders second cloud backup of my photo library (my primary backups are still in SpiderOak). I was using the “High Quality” setting since most of my photos are less than 16MP and didn’t want to pay for the extra storage required for “Original Quality.” For no real reason (other than wanting to get more out of my $99/year Amazon Prime subscription), I decided to switch to Amazon Prime Photos on my Amazon Drive.

Read more