 Hey, just so you know ... this post is now about 7 years and 5 months old. Please keep that in mind as it very well may contain broken links and/or outdated information.
 When I installed the ADT Pulse system in 2011, it came with monitored smoke/heat and CO2 detectors. Since then I’ve been paying the monthly monitoring fee to ADT and have had to deal with inexplicable false alarms (usually in the middle of the night and ADT’s answer was always “just change the battery”). This was in addition to two (non-ADT) wired smoke/CO2 detectors elsewhere in the house. I’ve had Nest (formerly Dropcam) cameras in my home network setup since 2014 and the Nest thermostat since 2016 so I’m not sure why I waited so long to get the Nest Protect.
I purchased two 2nd generation wired Protects (to replace the wired Kiddie detectors) and one battery-powered one (to replace the two separate ADT devices). Setup was pretty straightforward: turn on the device by pressing the big button in the center and the voice prompts walk you through the steps. With the Nest app on your mobile device, you scan the QR code on the back of the Protect and then connect it to your wireless network (all of my Nest devices are on a separate IoT network). When setting up multiple Protects, the first one will “assist” by sending the wireless config so I was able to get all three working relatively quickly (except for one which I accidentally set to the Spanish language and had to correct later, heh). At the end of the configuration process, you start a test on one Protect by pushing the button twice. The test will start on that device and then the others will also test themselves, which also confirms all of the Protects can “talk” to each other.
Once the Protects are set up and on your network, it’s time for the physical installation. Obviously installing the wireless/battery-only version is pretty simple: attach the mounting plate to your wall or ceiling and then screw the Protect onto the plate. Installing the other two wired models was pretty easy as well since I was replacing hardwired detectors: remove the old detector and mounting plate, unwire the connection harness, wire in the new harness that comes with the Protect, attach the mounting plate, then plug it in into the harness and screw it onto the plate. The hardest part of this was finding which breakers to turn off during installation. 🙂 The wired Protects have a small green LED that indicates they have electrical power (the wireless version, obviously, is missing this LED). The wired models take three lithium AA batteries (for backup in case of power loss). The wireless model uses six. The batteries are user-replaceable, accessed via a flip-up door on the back. No more checking the batteries twice a year!
Now that the three Protects were spread out across the house, I initiated another test from one to make sure it triggered all the others (confirming they were all still in range of each other). All good!
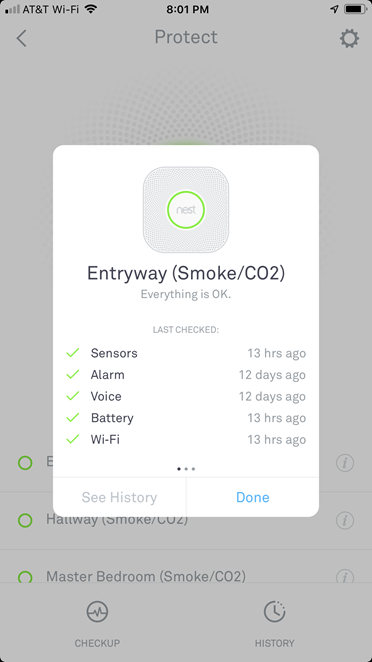
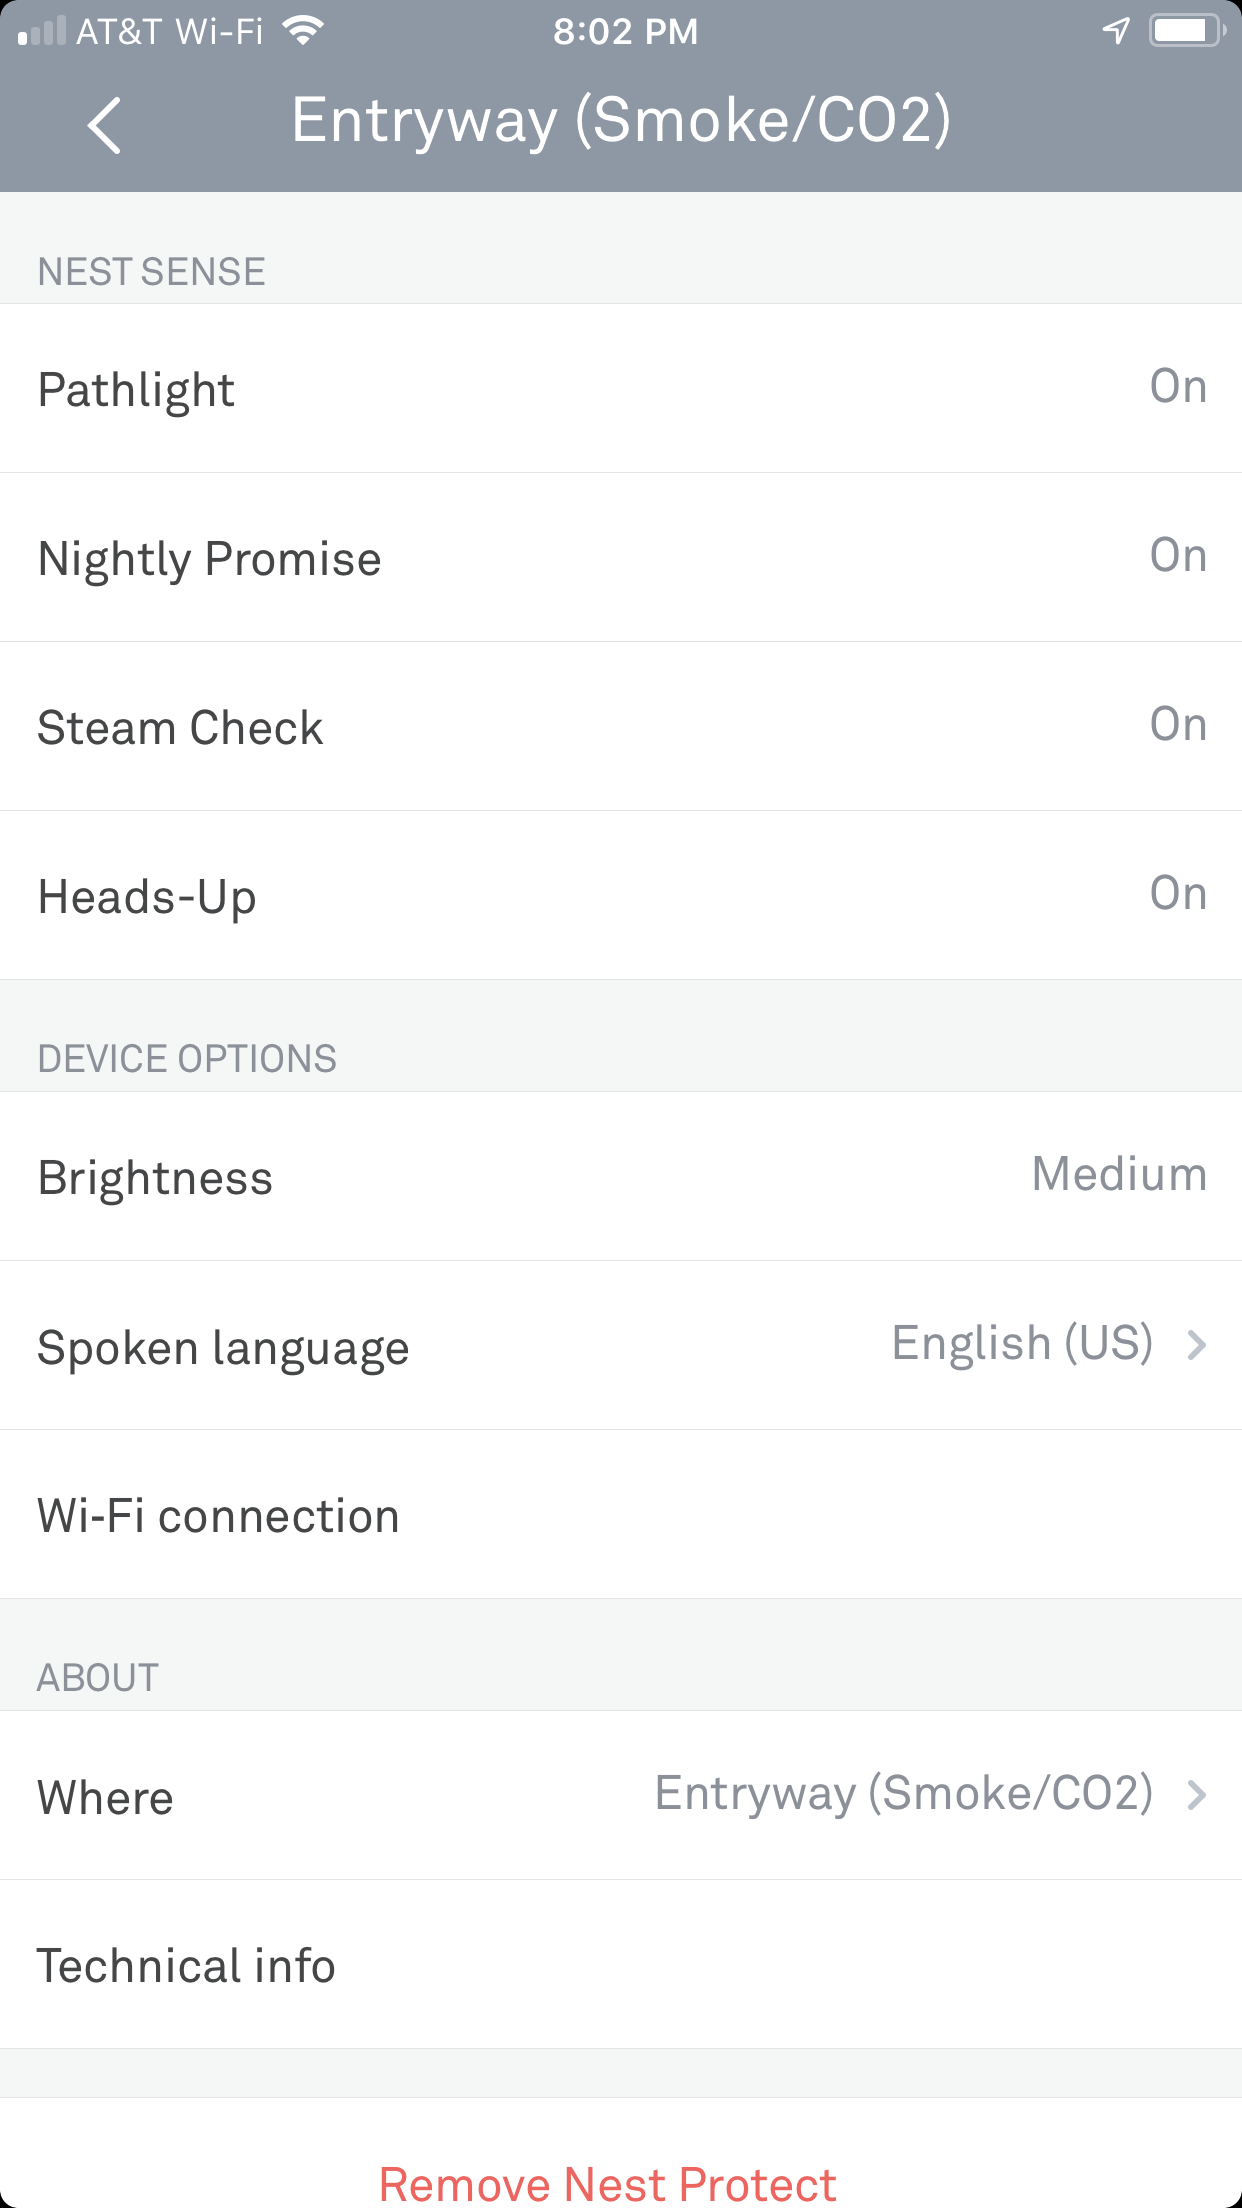
The rest of the setup is in the Nest mobile app. Here you configure options such as Pathlight (the white ring will illuminate at night when it detects motion to make walking in a dark house easier), Nightly Promise (when you turn the lights out, the ring will flash briefly green to let you know everything (batteries, sensors, etc.) are OK, or yellow if there’s an issue), Steam Check (cuts down on false alarms from steam), and Heads-up (a pre-alarm to let you know smoke or CO2 levels are rising). You can also configure the brightness of the ring for the Pathlight and Nightly Promise features, change the spoken language, and the label/name of the Protect in the settings. I did have to turn off Pathlight in the master bedroom: since the Protect is wall-mounted, any time we would move around in bed, the light ring would come on! It’s a nice feature in the other parts of the house, however.
The Protect integrates with the other products in the Nest ecosystem. For example, if smoke is detected, it can tell your Nest thermostat to turn off the fan and turn on your Nest cameras to record video of the event. There’s also IFTTT integration so you can get text messages for low battery alerts or alarms, or perform any other automations available via IFTTT. So far I’ve just set up the basic notifications.
The worst part of the experience of putting in the Nest Protect didn’t have anything to do with Nest at all. It was having to deal with ADT to remove their smoke and gas detectors. I removed the units from my wall and even removed the corresponding zones from my alarm panel (not hard to do when you know the installer code). When I called to cancel the monitoring service (for smoke and gas), I was told they had to send a technician out. I tried to explain I had already removed the units from the system (and they could tell I’d done it correctly otherwise there’d be all sorts of signal errors), but still I had to pay for a service call. I managed to get them to waive the service fee but I still had to arrange to be home to meet the technician. As I expected, it took 5 minutes: the technician collected the old detectors, checked the panel and confirmed everything was fine, and left. Then I had to call ADT again and finally get the service items removed from my bill.
Hopefully I’ll never need the Nest Protect, but for now I’ve got the peace of mind that my house is Protect-ed.
-
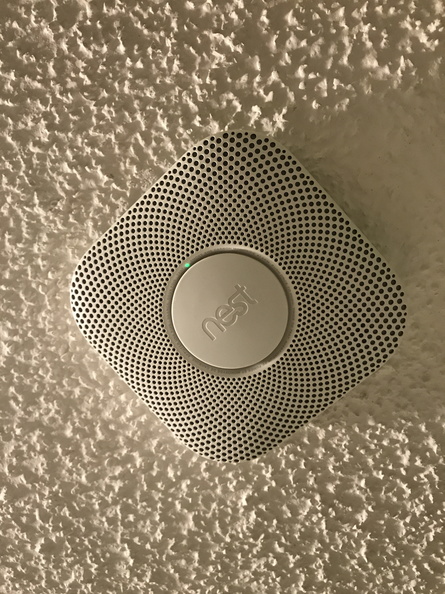
- Nest Protect installed
-
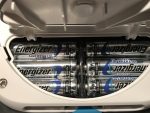
- Nest Protect batteries

-
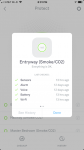
- Nest app status
-
- Nest app settings
Had my first alert tonight. A plastic wheel on the rack of my dishwasher fell off and was melting against the heating element. When I opened the dishwasher a lot of smoke came out. The nearby Nest Protect spoke up and said there was building smoke in the entryway and the alarm might go off. We cleared the smoke before that happened but it was good to know the Protect was working. I also got an “all-clear” alert on my phone afterwards:
Had a real event tonight … we were making simple syrup on the stove and forgot about it, so it started burning and smoking. All of the Protects went off (and I got the alerts on my phone), the Nest thermostat shut off the AC, and the cameras recorded the clips. So yeah, they work. 🙂
Now that I’ve been switching to Ring devices, I replaced these Nest CO2/smoke detectors with the FirstAlert ZCOMBO Z-Wave CO2/smoke detectors which are linked to the Ring alarm system..
Google has (not surprisingly) discontinued the Nest Protect.