We recently completed a (year long!) construction project in the front room of our house replacing three individual double-hung impact windows with a large picture window surrounded by two casement windows (all impact, of course). This isn’t a post about the construction though (well, maybe a little) but about the cool tech we’re using on our new giant window.
After the 2024 hurricane season we had two leaking windows in the front of the house. This wasn’t so much a failure of the windows themselves as the caulk/sealant around the windows, but we we had already been thinking about replacing all three of them with a big picture window and this was the final push we needed to start that project. In early April 2025, we found a contractor to handle the job: removing a raised, concrete wall flowerbed in front of the windows, knocking out the four concrete block “pillars” separating the three windows to create one large opening (11′ x 5′), and installing a picture window with two side casement windows. By late April, demolition of the flower box was complete but then we ran into a delay ordering the custom windows from Pella. The new windows arrived two months later at the contractor’s and the rest of the project was completed over a few days in mid-July.
-
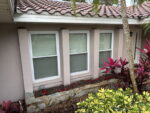
- before: three separate windows and flower box

-

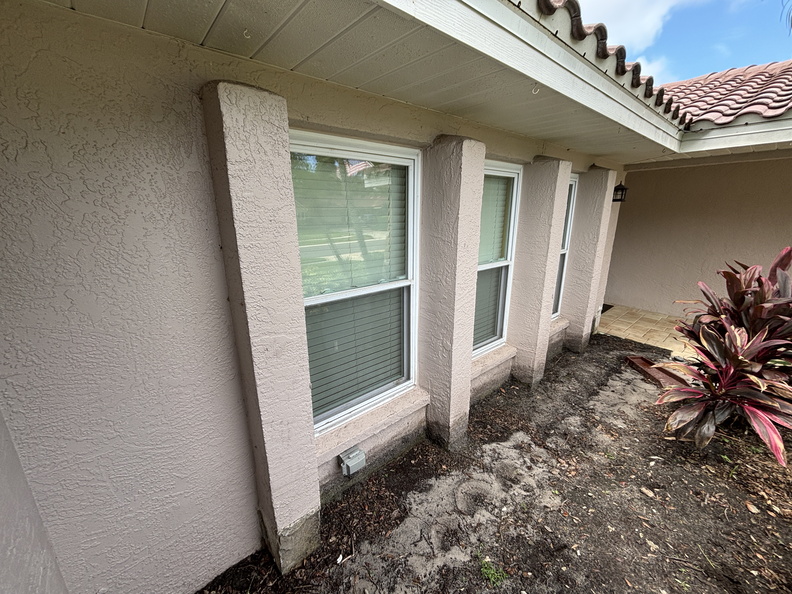
- flower box removed
-
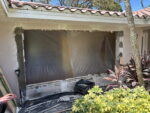
- windows and pillars removed

-

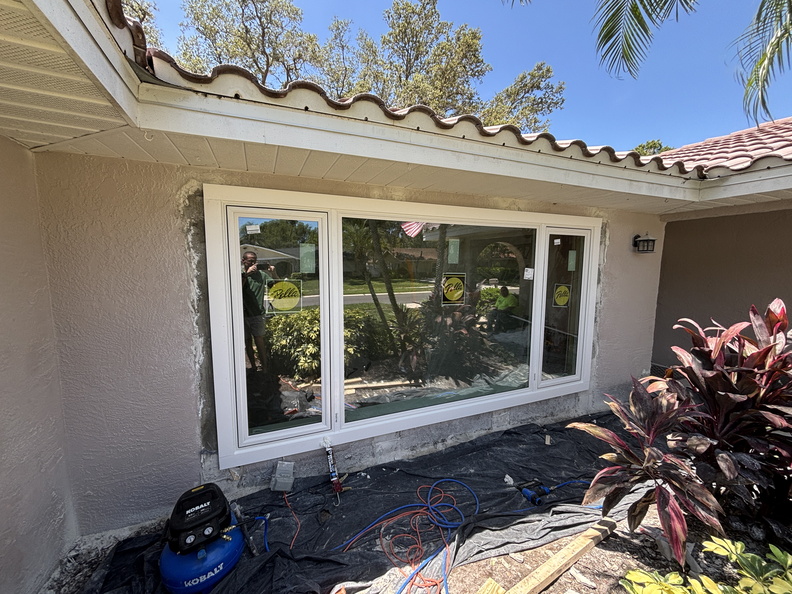
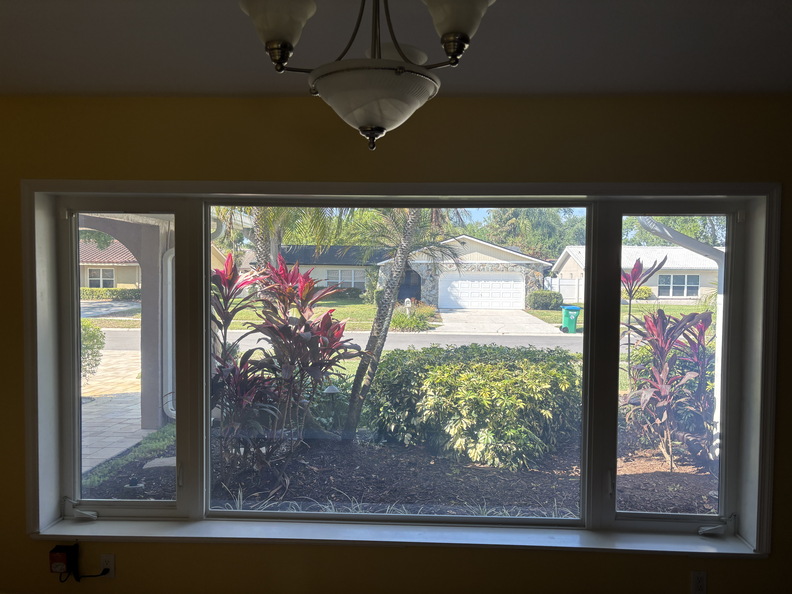
- after: picture window with casements
After the install, however, we found a few issues with the windows themselves that needed to be addressed by the manufacturer. In late August, a Pella representative was finally able to visit our home to inspect the windows. He was able to adjust and fix one of the casements, but determined the other one was “warped” and needed to be replaced.
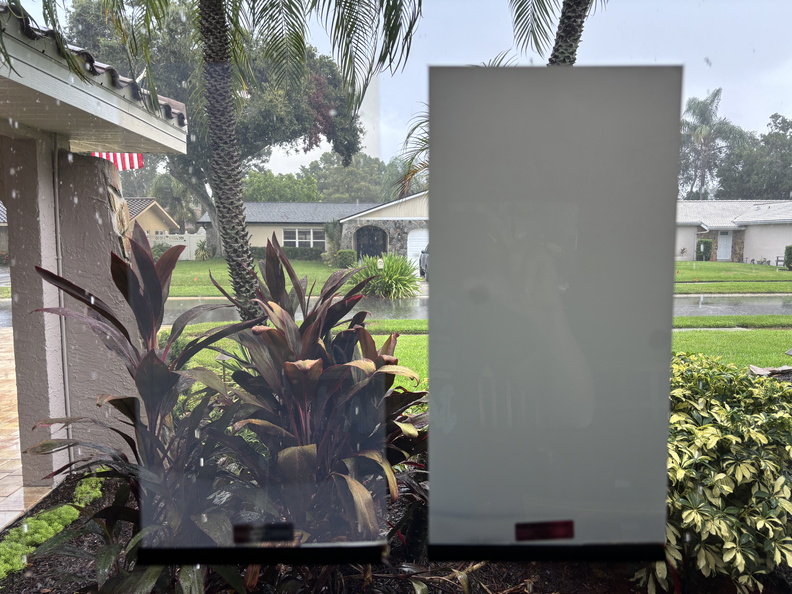
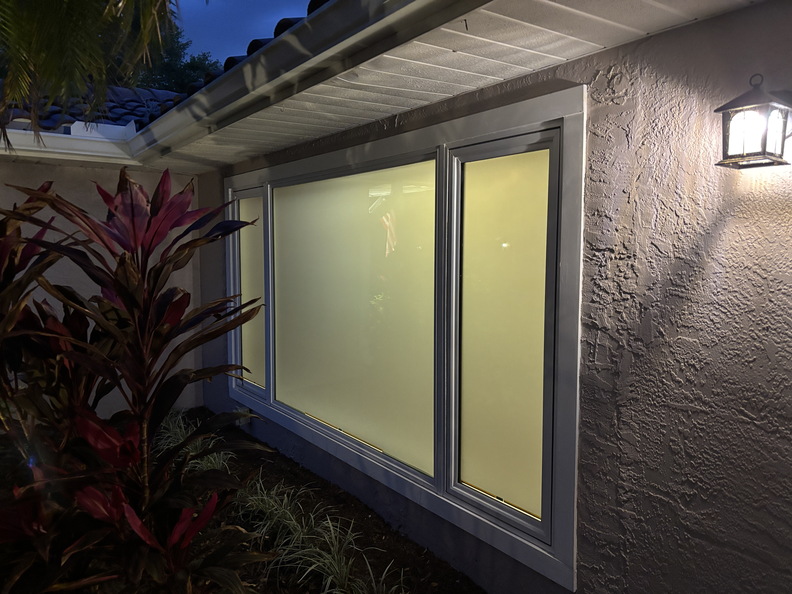
While waiting on the replacement, we began looking at our window covering options. On the original three windows we had had wood blinds, but that was no longer feasible due to the width of the opening (even with smart blinds, and we didn’t want to do curtains). Plantation shutters was our next option, but we didn’t like that when opened and folded up against themselves to either side of the window they would stick out and block the walkway around our dining room table. At one point I jokingly mentioned we should get that fancy electro-window tinting that turns on and off like in high-end conference rooms and my wife was like, why not? So we started researching that option and came across two smart film possibilities: SmartGlass Technologies and Smart Tint. After working with each vendor through some quotes, back-and-forth questions and answers, we selected Smart Tint. It was not only slightly cheaper in cost (although that ended up working against us, more on that later) but I really liked their sample kit that let us check out their various offerings at home. We ended up selecting the gray tint since the white had a slight yellow tinge when it was in “clear” mode (in the third photo below, look at sky just above my neighbor’s doorway and you’ll see what I mean) and there wasn’t that much of a difference inside or out when the film was in its opaque state.
-
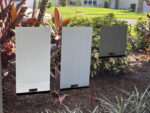
- Smart Tint window sample film testing (white, gray, black)

-
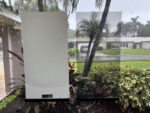
- white (left) off, gray (right) on

-

- white (left) on, gray (right) off
We didn’t want to place our order until the window repairs were complete, but didn’t expect that process to take soooo long. My wife kept bugging Pella for updates and in mid-November they finally said they’d be out to replace the casement the first week of December. Based on that, we formally signed the contract with Smart Tint and put down our deposit to get the project going. They produced the shop drawings with all of the finalized measurements and parts lists for our approval. Since we’re not installation experts, this is when I started working on finding an installer to handle the job. Smart Tint said they had certified installers all over, including ones in our area, which is one of the reasons we selected them (SmartGlass was based in Miami and was going to charge us travel fees for their installers to come over and finalize measurements and when they came back for the final install, which made them more expensive). I started contacting the installers Smart Tint had passed on to me and none of them were interested or available.
While that was going on, our early December date for the Pella repair came and went with no one showing up. Pella reported that the installer had the wrong parts so was unable to come do the job and we were now rescheduled for the end of January 2026 (keep in mind we started this process back in July!). After more back-and-forth with Smart Tint, I was finally able to contact an installer from Boyton Beach (on the other side of the state from us, near West Palm) who was doing some other jobs in the Tampa area and was willing to combine travel costs across his other customers. He came out one afternoon in mid-January to check the shop drawings against the actual windows, amended the measurements and parts list accordingly, and signed off on the docs for me to send back to Smart Tint. He understood that we’d be in touch to schedule the install once the window repair was complete. On January 30, Pella came and repaired the casement window, six months after the original installation.
But now we could proceed with the tint! It took more schedule-wrangling with the installer due to his “driving across the state” schedule plus my big spring sports trip in the beginning of March before we were able to confirm March 25th. The project took a day and a half (it’s like applying a screen protector to your phone, but way larger and with electrical wiring), but the final result was just stunning. The casements added a little complexity with the wiring but the creative use of a phone cord-like pigtail allows us to still open the windows withough breaking the electrical connection.
-
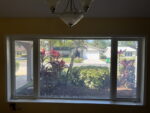
- Smart Tint on (transparent), from inside
-
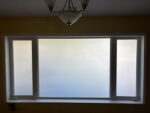
- Smart Tint off (opaque), from inside

-

- Smart Tint off (opaque), from outside
-

- power controller

The smart tint is opaque when turned off (no power), and clear when power is applied, controlled with an included remote. There is a slight loss of clarity and since the film is made up of polarized cells there’s a “haze” effect when looking through it at an angle versus straight on, but we’re already used to it. Obviously I wanted to be able to control the tint through my home automation system and luckily one of the electical outlets under the window was controlled by a light switch, so rather than purchase the additional WiFi controller from Smart Tint I simply replaced the existing switch with a new Z-Wave one and connected it to my existing Homeseer system (I confirmed with the vendor and installer that cutting power to the power supply with a switch like this was fine). The end result is we can control the tint from the physical switch, our phones, or via Alexa voice control. I also have HS4 events that will turn the tint on (clear) and off (opaque) on a schedule (8:00am and 30 minutes after sunset), and when we arm and disarm the alarm. Here’s what it looks like working from inside and outside:
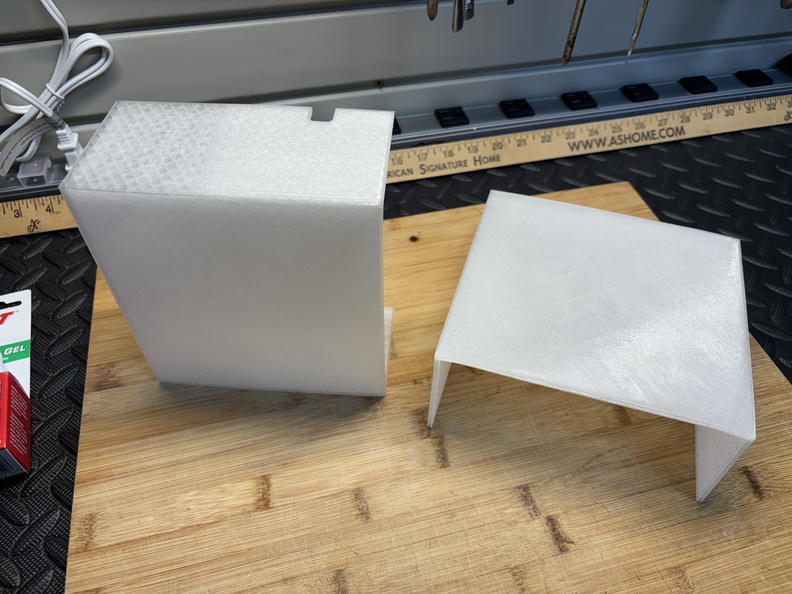
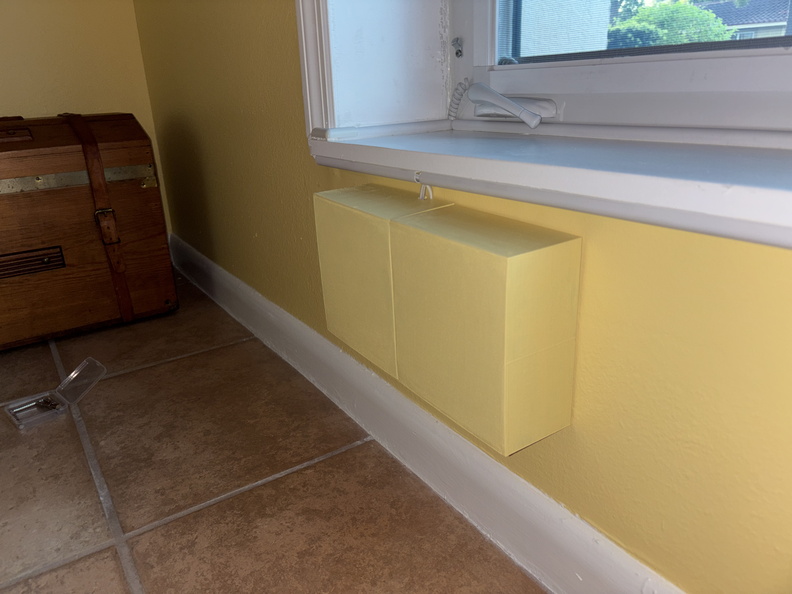
In the video and photo above, you can see the power supply under the bottom left corner of the window, plugged into the switched outlet. I wanted to cover it somehow so with a little help from Microsoft Copilot I designed and 3D printed a box to hide it. I made it in two parts so that one side could be easily removed to expose the outlet if needed (also because it was too big to print as one piece on my printer), and painted them to match the wall. I used strong magnets glued to each side to allow the two pieces to snap together. Each side was an 18-hour print, but I’m pretty happy with the end result:
-
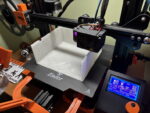
- printing the side for the power supply (with notch for wires)

-

- both sides printed, before painting
-

- magnets to attach the two pieces together
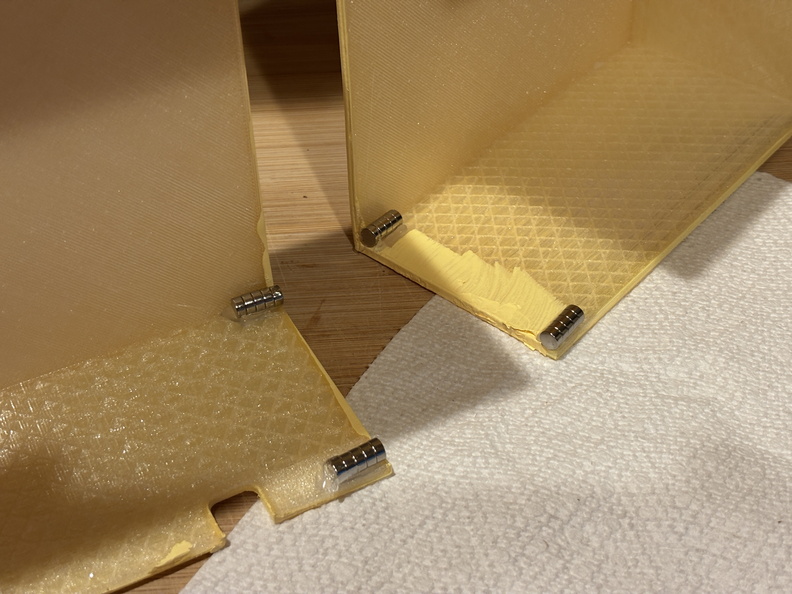
-
- magnets to act as spacers and also attach to the power supply box

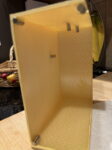
-
- side one attached to the power supply

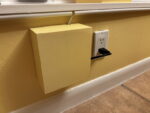
-
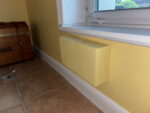
- both sides installed
Just barely under a year total, our window replacement project is complete!
This is really interesting